
Table of Contents
This series is designed to help people to understand modern technology, and become more confident in using computing devices. It is not designed to educate experts.
The author is involved in tutoring older students at SeniorNet, a New Zealand wide organisation. SeniorNet hopes that students will feel more confident in using their computing devices as a result of the learning opportunities offered. This series of articles shares that hope.
I went to great lengths recently with an article on how to extend the life of your old computer by replacing Windows with Linux Mint, to keep it out of the landfill.
If you did that, great. What’s next?
Today I will talk about setting your revitalised computer up, and getting it to do ‘stuff’. After all, it wasn’t doing much stored in the back of a cupboard, so we want it now to be useful. But like all new installs, there are several things you need to attend to.
Updates:
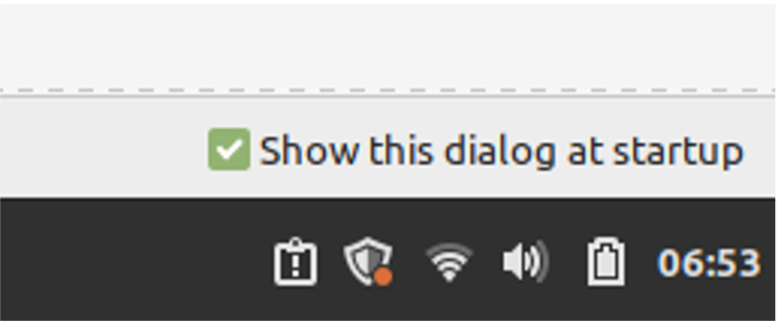
When updates are available the shield in the system tray will have a small red dot to indicate this.
Click the shield to start the Update Manager, and click OK on the info screen.
Follow the on screen prompts. Enter your password when requested (this is to ensure only you make changes to your system, not some unauthorised kid).
The first update will take some time because it includes all the updates to software since the iso was prepared: drivers, everything. This is a major difference to that “other” operating system, where updates come from many sources, so are often overlooked.
This first update may also request a system restart after completion because there has been a change to the kernel. This is most unusual, and most updates DO NOT require a restart.
You should update when it’s convenient for you, not when your computer thinks you should. Some people update as little as once a month. I do so more frequently.
Adding Software:
Each Linux distro installs different software. Mint does not install Gimp, the image editor I use, so this is one of the first things I add. Here’s how.
Click the Menu icon (bottom left of the screen), Administration and Software Manager. Enter Gimp in the search box. Click Install and enter your password. Once installed you can launch from the Install Manager, or Menu/Graphics/GNU Image Manipulation Program (Gimp).
I like to play patience. Use the software manager, search for kpat and install it. Once installed and started I like to change the card deck used by using Settings/Change Appearance and selecting the standard deck of cards.
There are over 50,000 free software titles for you to use here. Who said Linux offers no software? Explore and install to your heart’s content. Free. Open source. No spying either!
Firewall:
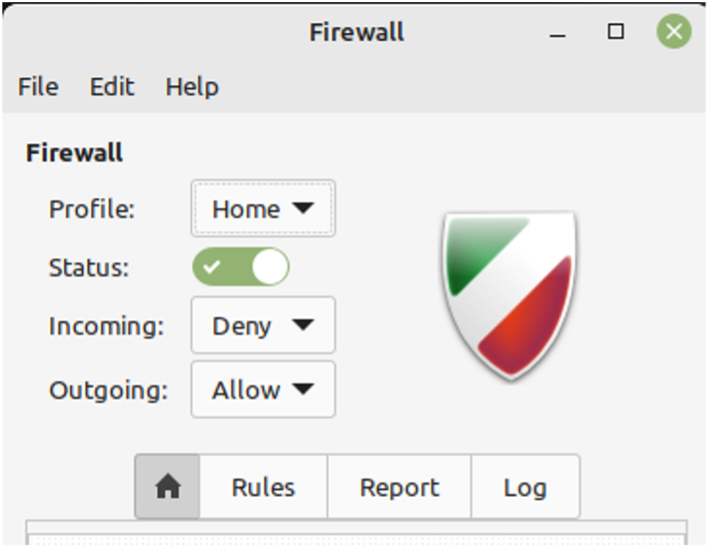
This helps keep baddies out of your system. Linux Mint has a firewall programme installed, but not initially turned on. Here’s how to enable it.
Menu Icon/Preferences/Firewall Configuration (Scroll down needed). Enter password and slide the status slider to the right. Close Firewall Configuration. Done.
Surf The Web:
Firefox is the default browser. Just click on the icon in the Task Manager at the bottom of the screen. And control those ads by installing an adblocker add on. Once Firefox is running, click Tools in the top menu, then Add Ons and Themes. Type uBlock Origin in the search box, click on uBlock Origin in the results and follow the prompts to install.
Change the theme (look) of Firefox from this area as well. Here is my themed Firefox.
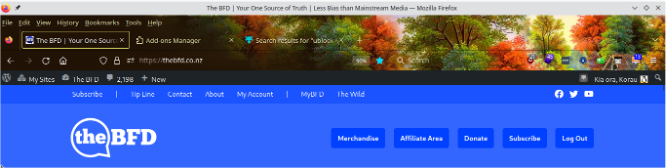
If the Firefox menu goes missing, right click on a blank area at the top of Firefox, and choose Menu Bar on the pop up menu.
Your Files
Linux Mint uses a file manager called Nemo. Access it by clicking on the file icon in the system tray (the one with a white tab). Use drag and drop to move files around.
Menu Items.
You just need to explore these. It took you years to learn what you know about Windows; don’t expect to learn everything here in half an hour
Virus Checker:
Just NO. Not necessary. Viruses are not unknown in the Linux world but are rare. Provided you obtain your programmes from the authorised repository, and install them in the approved manner, you are most unlikely to become infected. There are virus checkers that will run on Linux, but these are designed to catch Windows viruses. No virus checker eating computer cycles is one of the reasons Linux on the desktop is so snappy. And full system scans making your computer all but useless are a thing of the past.
Set up your email:
If you are only testing this system, no need to do this yet. But if you do want to bring your emails into your Linux system, Thunderbird email is installed. Here’s a video on using Thunderbird. And it’s free and doesn’t spy on you.
Thunderbird also has a full calendar built in. This will import your Google calendar if required.
It also has a To Do list, and will handle your RSS news feeds. All this goodness for FREE!
Install an office suite:
Already installed as part of the Linux install. See LibreOffice Writer (word processor), LibreOffice Calc (spreadsheet) and LibreOffice Impress (presentation), in the Office category. You will find these similar to the Windows equivalents if you’ve used them. All for FREE. And you can import, or export, in the Microsoft formats as well as the supported open source formats. For free. No adverts. No spying.
Graphics programme like Adobe Photoshop:
Look at Gimp, which I detailed installing earlier in this article. Free once again, apart from the learning curve.
Multimedia Player:
VLC is world-class, free and just waiting to be installed.
Desktop Personalisation:
I like my desktop wallpaper to change every few minutes. To do this I search for interesting wallpaper images using Firefox, then download them into a suitably named folder in the Pictures folder.
From there I click on a blank area of the desktop, select Change Desktop Background, add the suitably named picture folder to the left menu using the “+” sign. Then click this folder and settings at the top of the Backgrounds window. Select Play backgrounds as a slideshow, the change time and other settings as desired. Then close the Backgrounds window and enjoy your changing wallpapers.
There’s lots more to learn, but the foregoing will get you up and running. Enjoy.


