Table of Contents
It would seem that all things good and rewarding come packaged as a tort/torte. Tort law is there to redress a wrong done to a person and provide relief, something beneficial… while the German torte is there not only to provide relief and make a person feel great but to make them feel really great. Pun Sunday!
Torte is German for cake and is known as the king of cakes. Tortes are rich in substance and content, moist and strong in flavours. The torte is generally made as a layer cake with thin layers of torte sandwiching rich layers of mousse, cream or preserves.
Unlike in ‘poorer’ cakes, minimal flour is used in the baking of the torte. The torte itself can be made using the flour of ground nuts or cornflour to mix with the eggs and sugar.
This one is great for celebrations, birthdays, anniversaries and the like, although it’s a very expensive way to please children. Kids will eat anything sweet and messy: better to leave them with the cheaper eclairs with whipped cream or traditional cocoa powder birthday cakes.
While the torte has several stages in its building, it’s not at all difficult once you get the hang of it.
There are three stages to building this tasty torte: the torte itself, the filling and the glaze or icing/topping. It’s best to build it over three days, making the torte and the chocolate ganache on the first day and the sugar syrup and mousse on the second day.
Chocolate Mousse Torte
Ingredients Ganache:
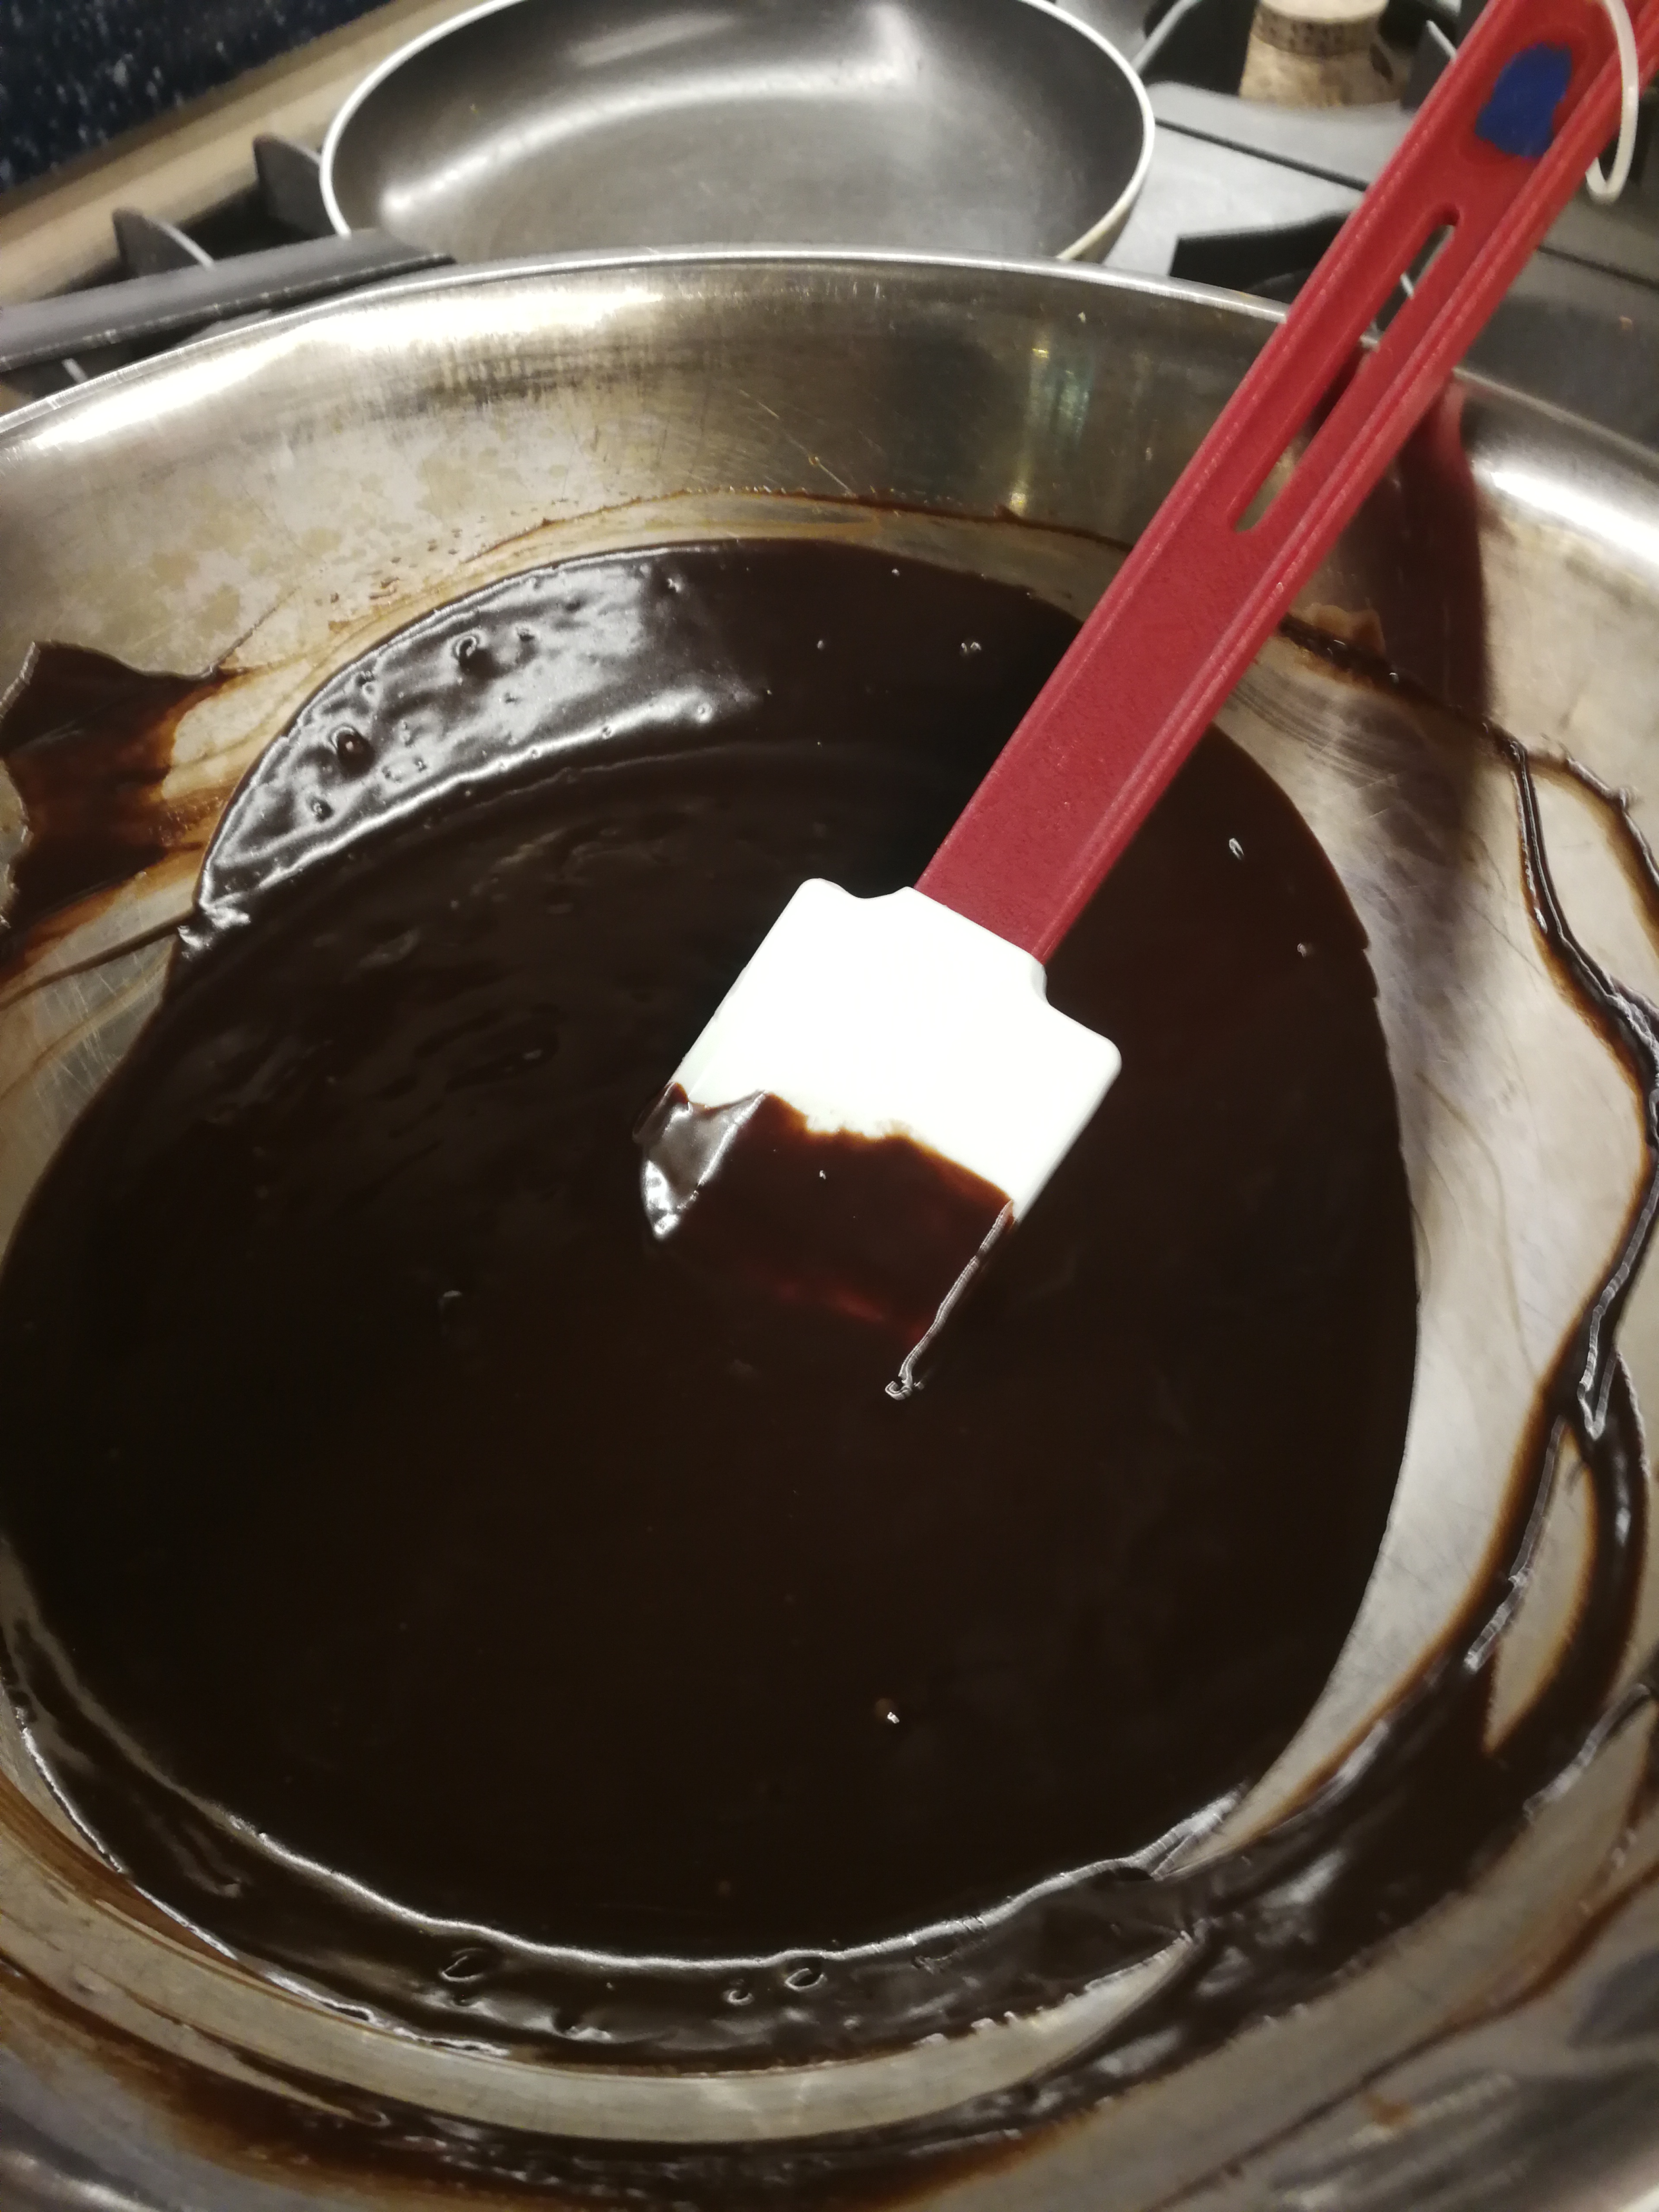
The ganache is used for both the mousse and the topping. The ganache for the mousse must be made the day before making the mousse and kept overnight in the fridge.
- Bitter chocolate (54% to 60% cacao) x 500 gram
- Whipping cream x 500 gram
Method:
Place chocolate broken into small pieces and the cream into a glass or stainless steel bowl on top of a pot of simmering water (bain-marie). Melt and combine. Stir occasionally until chocolate is fully melted, then pour into a container, let cool, seal and place in fridge.
Ingredients Torte: (makes several trays of torte).
Part 1:
- Egg yolks x 4
- Eggs x 2
- Sugar x 200 gram
Part 2:
- Egg white x 270 gram
- Sugar x 250 gram
Part 3:
- All purpose flour x 100 gram
- Corn starch x 100 gram
- Sifted cocoa powder x 30 gram
Sugar Syrup:
- Sugar x 200 gram
- Water x 400 gram
- Alcohol of choice x 100 gram
- Half a fresh lemon with skin
- Half a fresh orange with skin
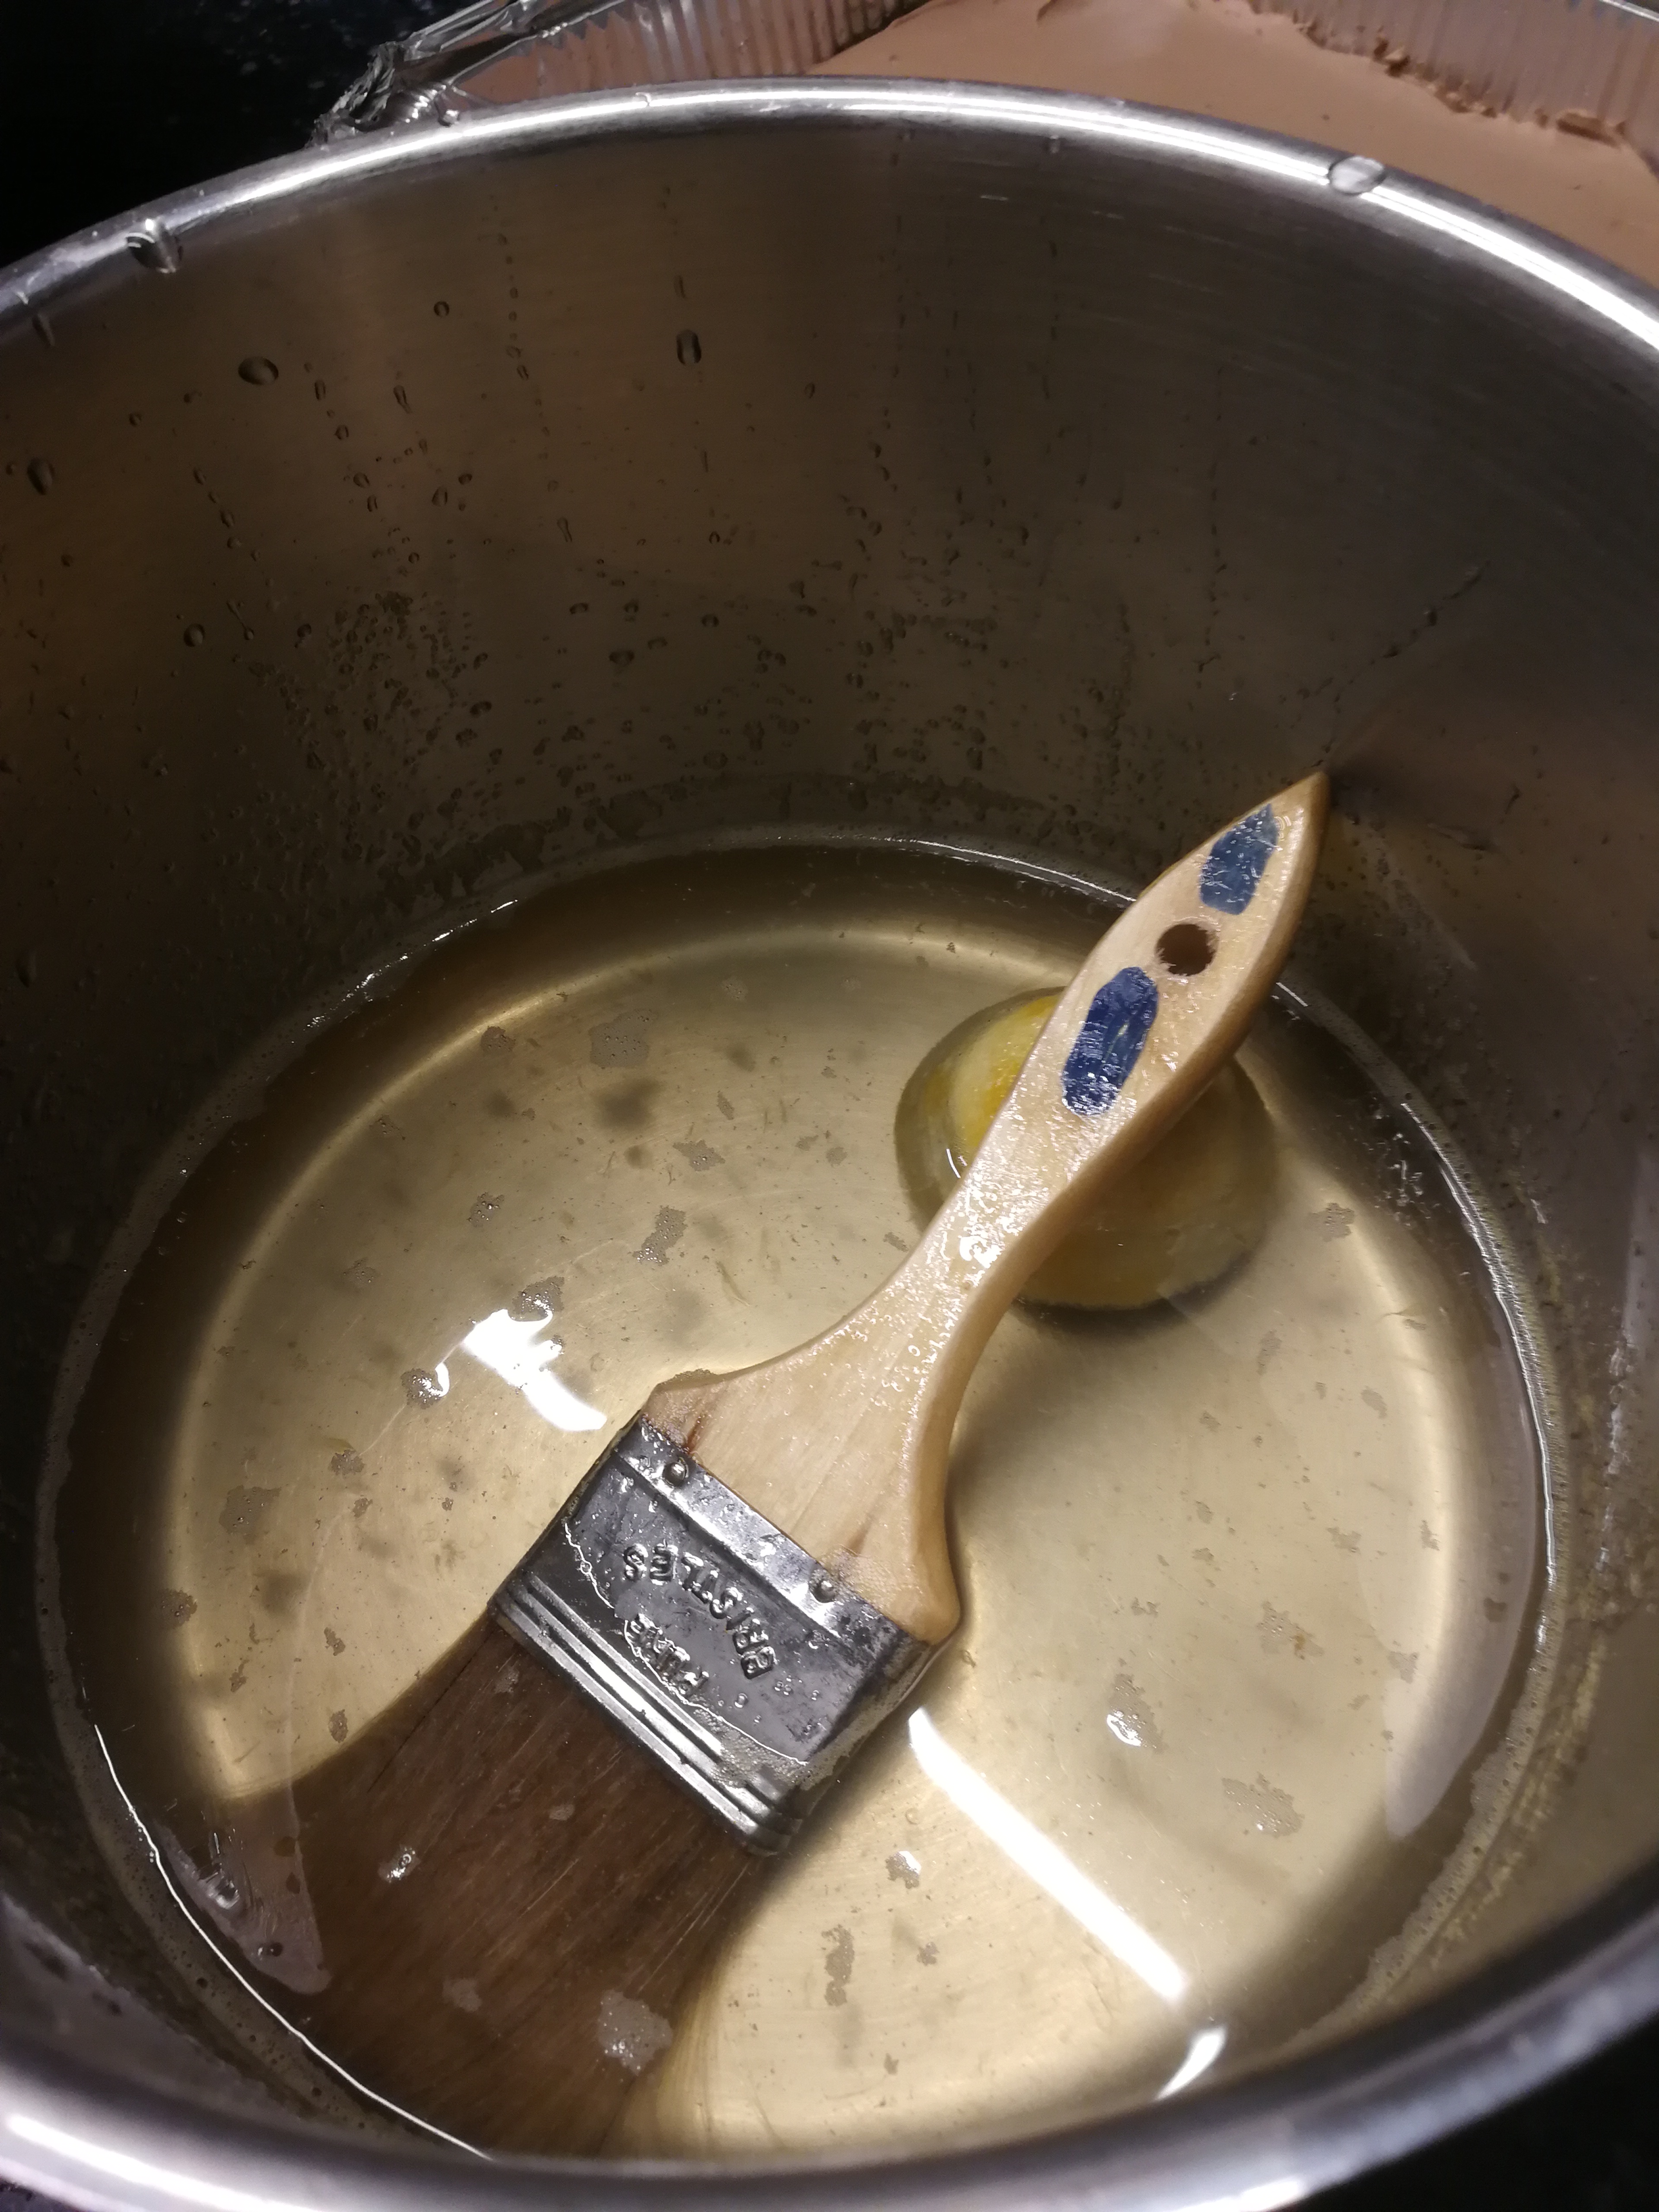
Make sugar syrup by adding all the ingredients, excluding the alcohol, to a saucepan and bringing it to a simmer. Once the sugar has dissolved add the alcohol, remove from the flame and leave to cool. Can be kept overnight in the fridge.
Dark Chocolate Mousse:
- Whipping cream x 750 ml
- Dark ganache x 300 ml
- Vanilla essence x 5 ml
- Alcohol of choice x 50 ml
Method:
Part one: Add the egg yolks and eggs to the mixer bowl using the balloon attachment. Start mixing on a high speed. When the mixture starts to thicken and get body, start adding the sugar a bit at a time, mix until thick and airy, set aside in a large mixing bowl.
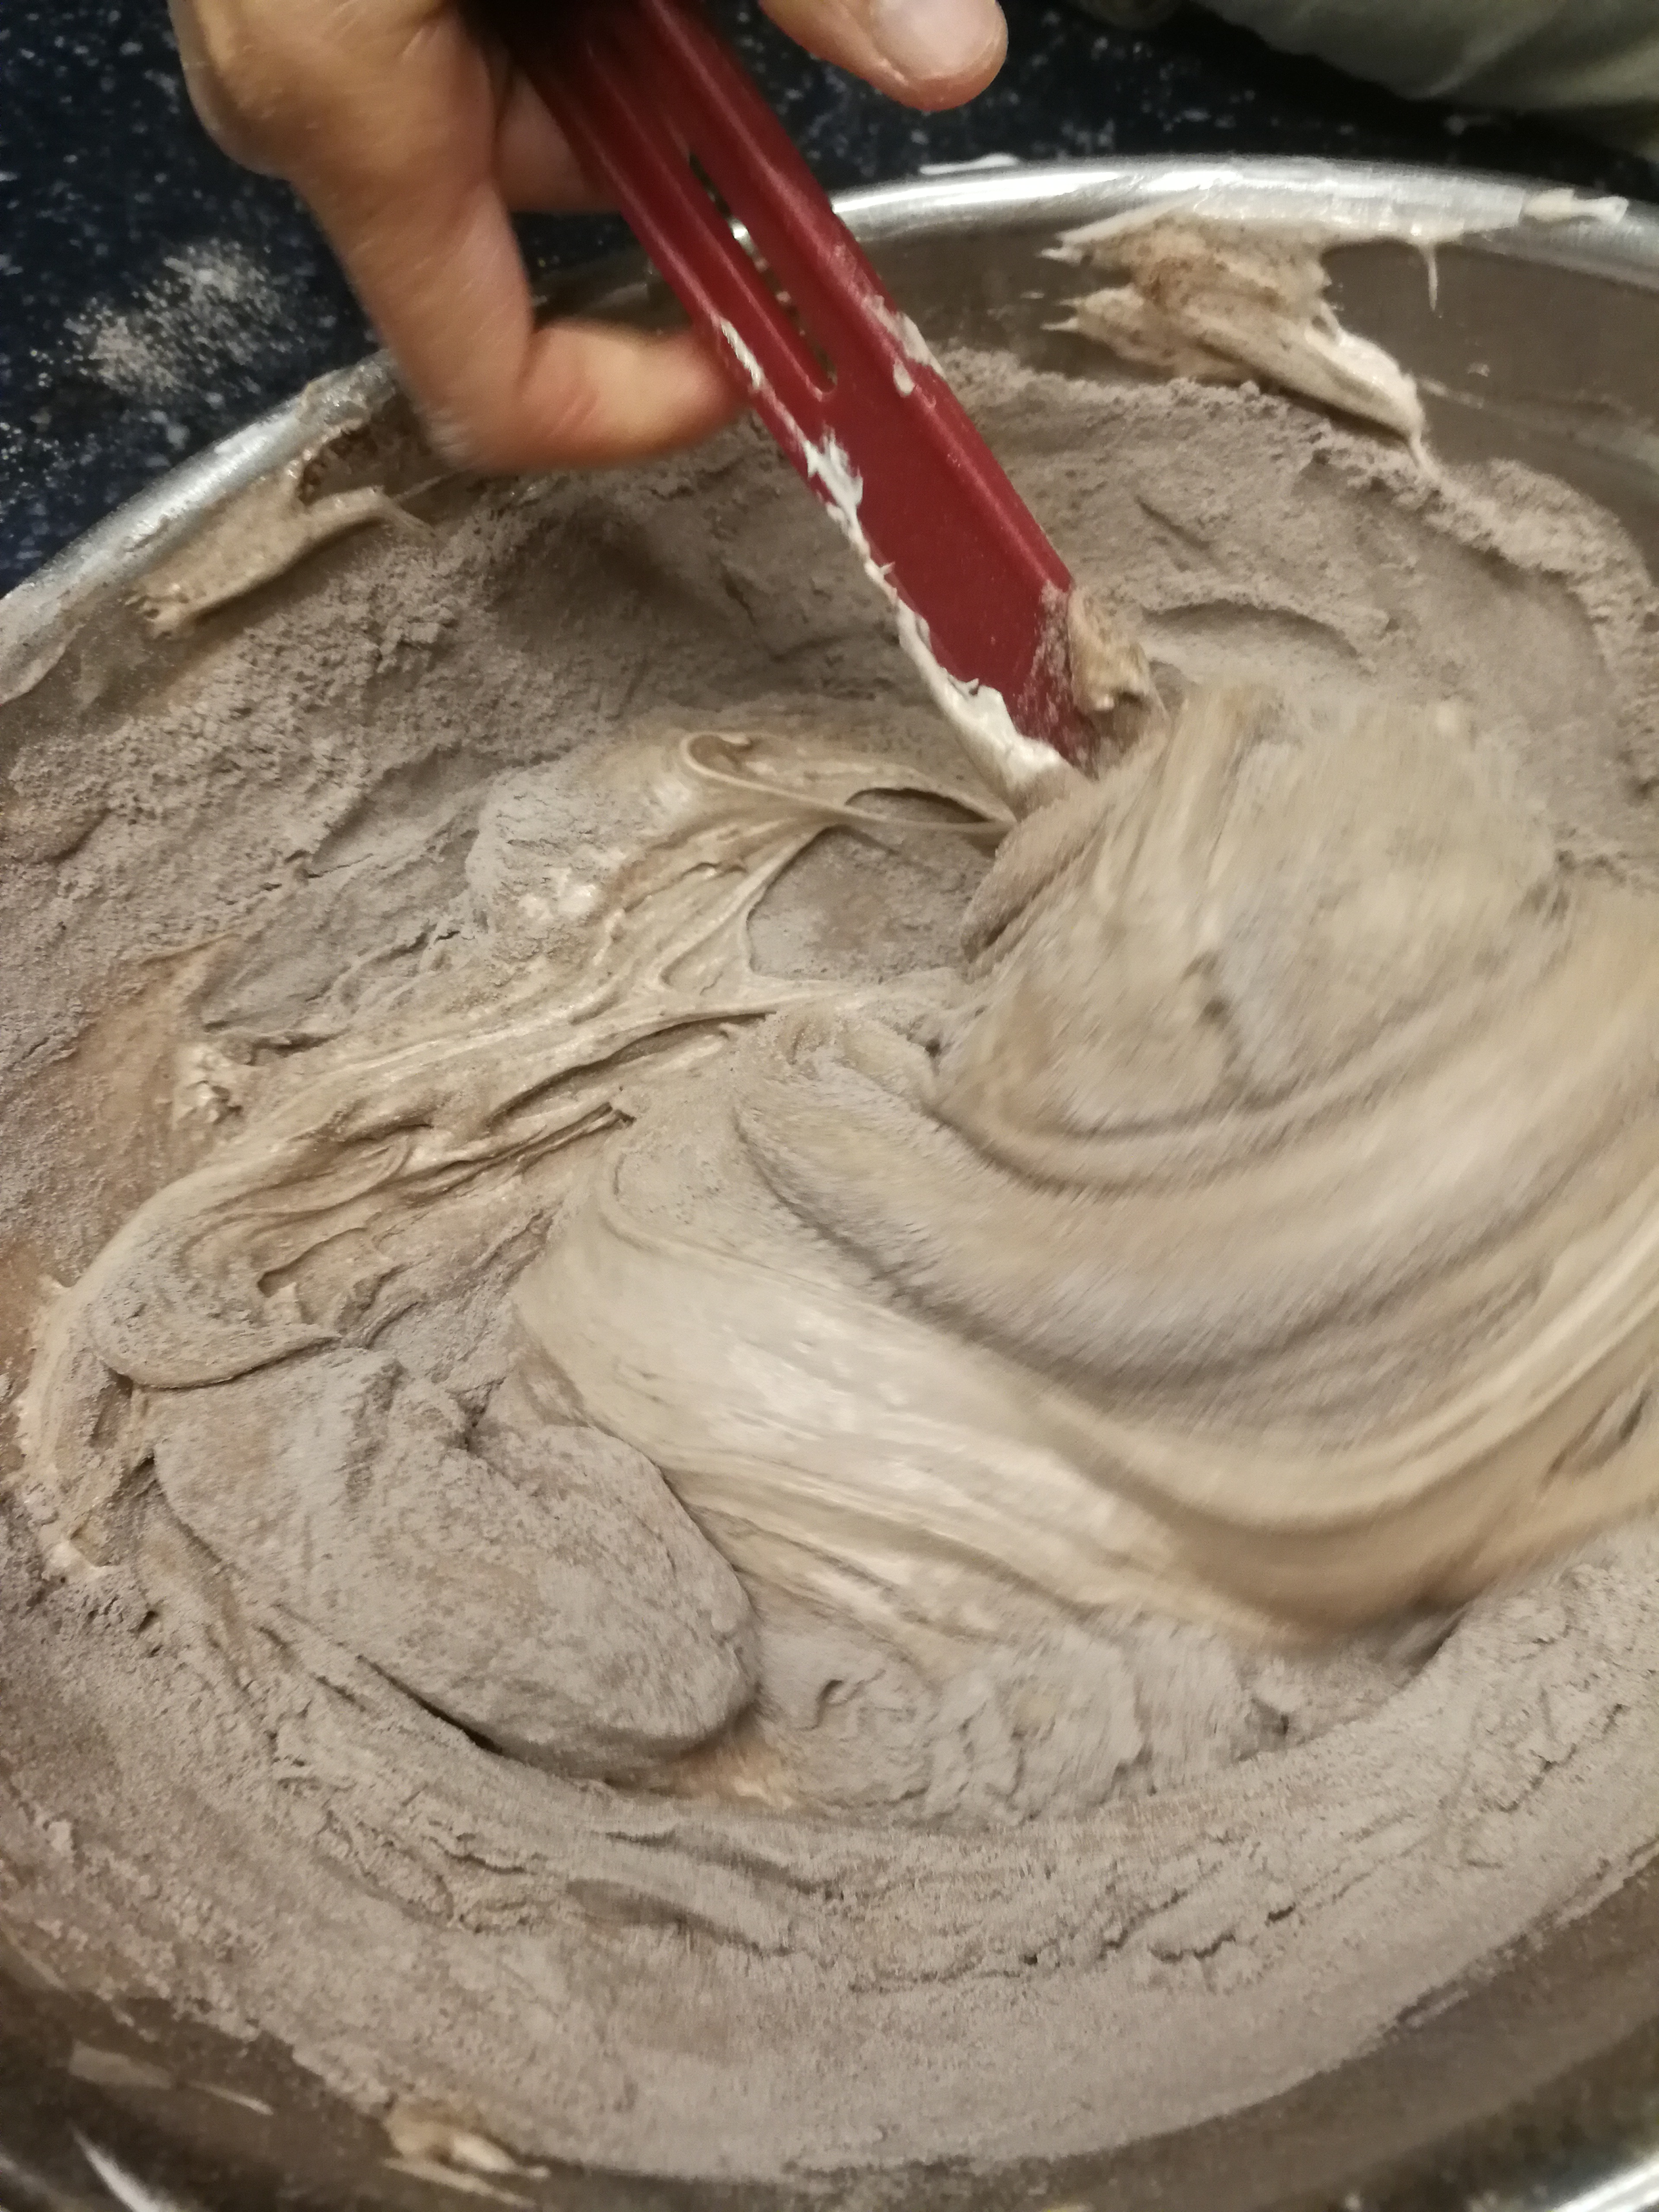
Part two: Make sure the mixer bowl and balloon attachment are washed, clean and dry before adding the egg whites. Mix the egg whites on high speed with the balloon attachment until the egg whites start to thicken, add the sugar bit by bit until the mixture reaches ‘stiff peaks’, then using a silicone spatula gently fold the whites into the yolks until the mixture is well combined.
Part three: Mix the flour, cornstarch and cocoa together and then gently mix it into the combined mixture of egg whites and yolks.
Take several oven trays, put a spot of the torte mixture in each corner and press the baking paper down on the spots, this will ensure the baking paper doesn’t move when levelling the mixture. Pour equal amounts of the mixture onto each tray. Using a metal spatula spread it evenly; it should be about 1 cm thick.
Bake each tray individually as home ovens won’t have the circulation to bake them successfully together. Preheat your oven to 250 Celsius and bake each tray for five minutes. Set aside to cool. Leave the baking paper stuck to it until you start building the torte the next day. Wrap in Glad wrap to prevent drying.
Using the balloon attachment, add the whipping cream, ganache, a teaspoon of vanilla essence and a small shluk of alcohol, whip at high speed until thick and stiff.
Remove paper gently from torte. Cut torte in half and place first half on tray with smooth side down, liberally brush the torte with the sugar water ensuring it is well and truly damp, then spoon a quarter of mousse mixture. Using a metal spatula ensure the mixture is even and level. Place the second half of the first torte on top of the mousse and gently press down evenly; repeat until you have four layers of both the torte and the mousse. On the final layer of mousse place baking paper on top of the mousse and using the metal spatula ensure it is smooth and even. Place in freezer, best overnight.
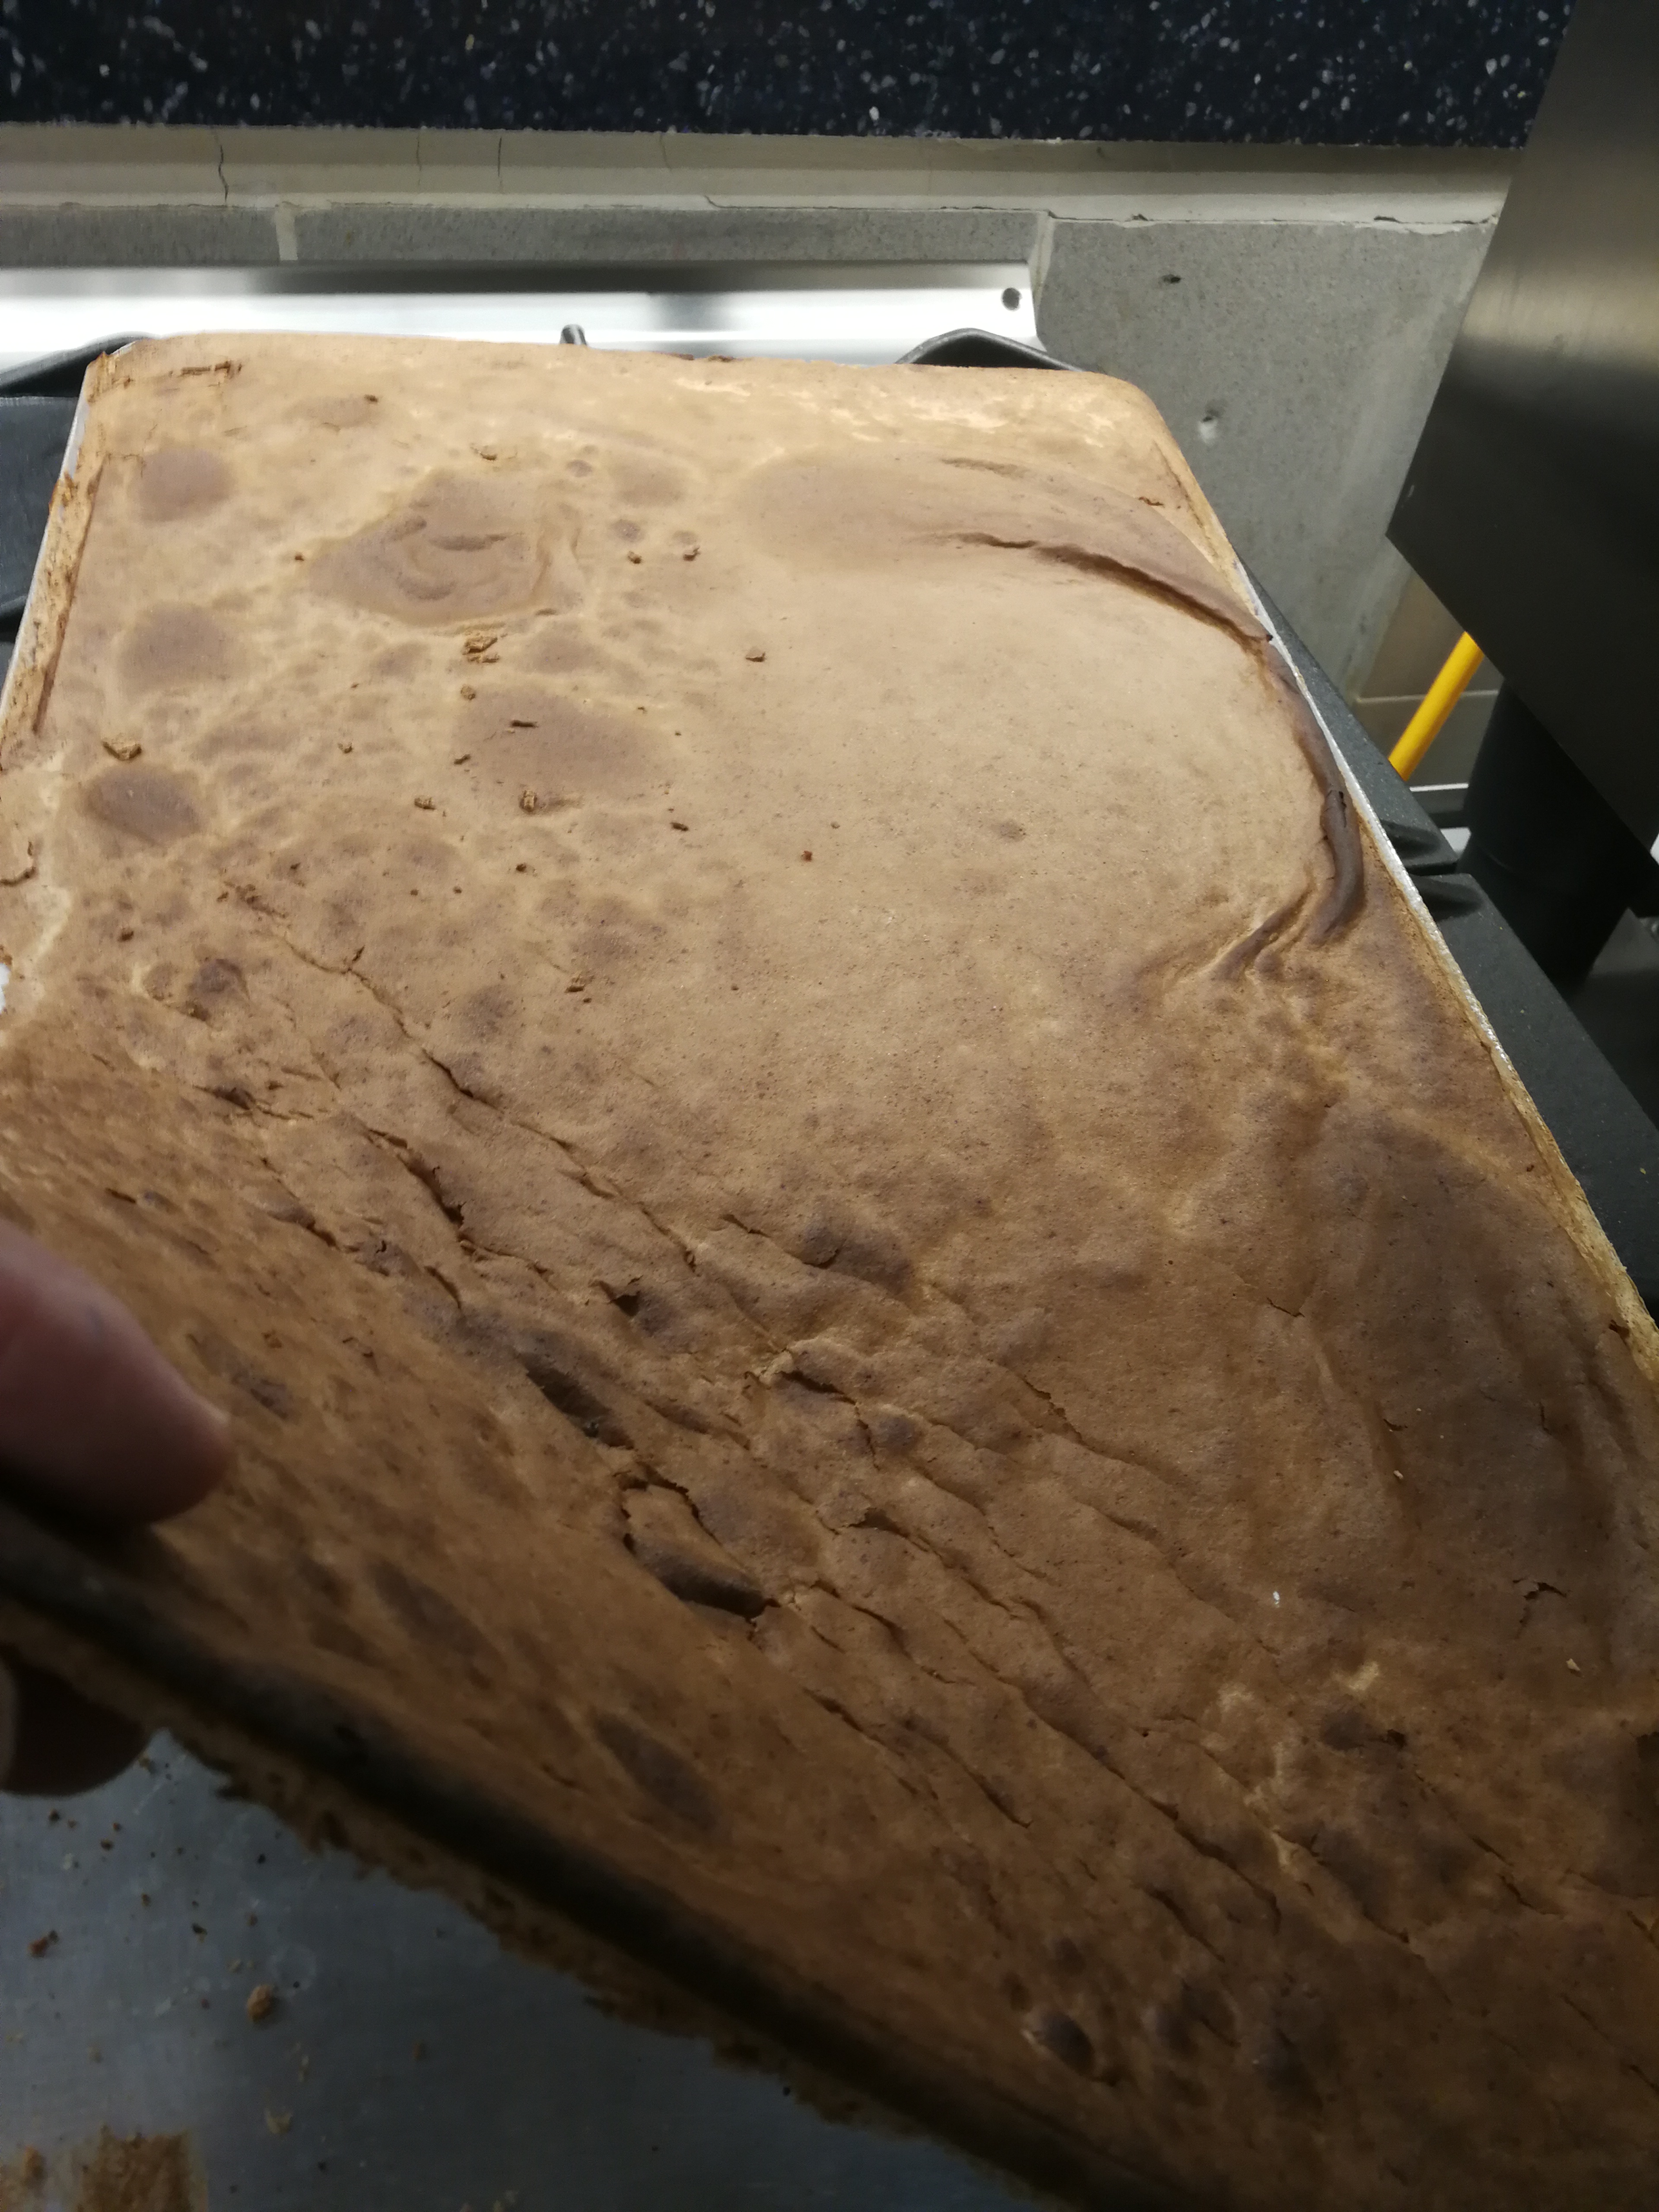
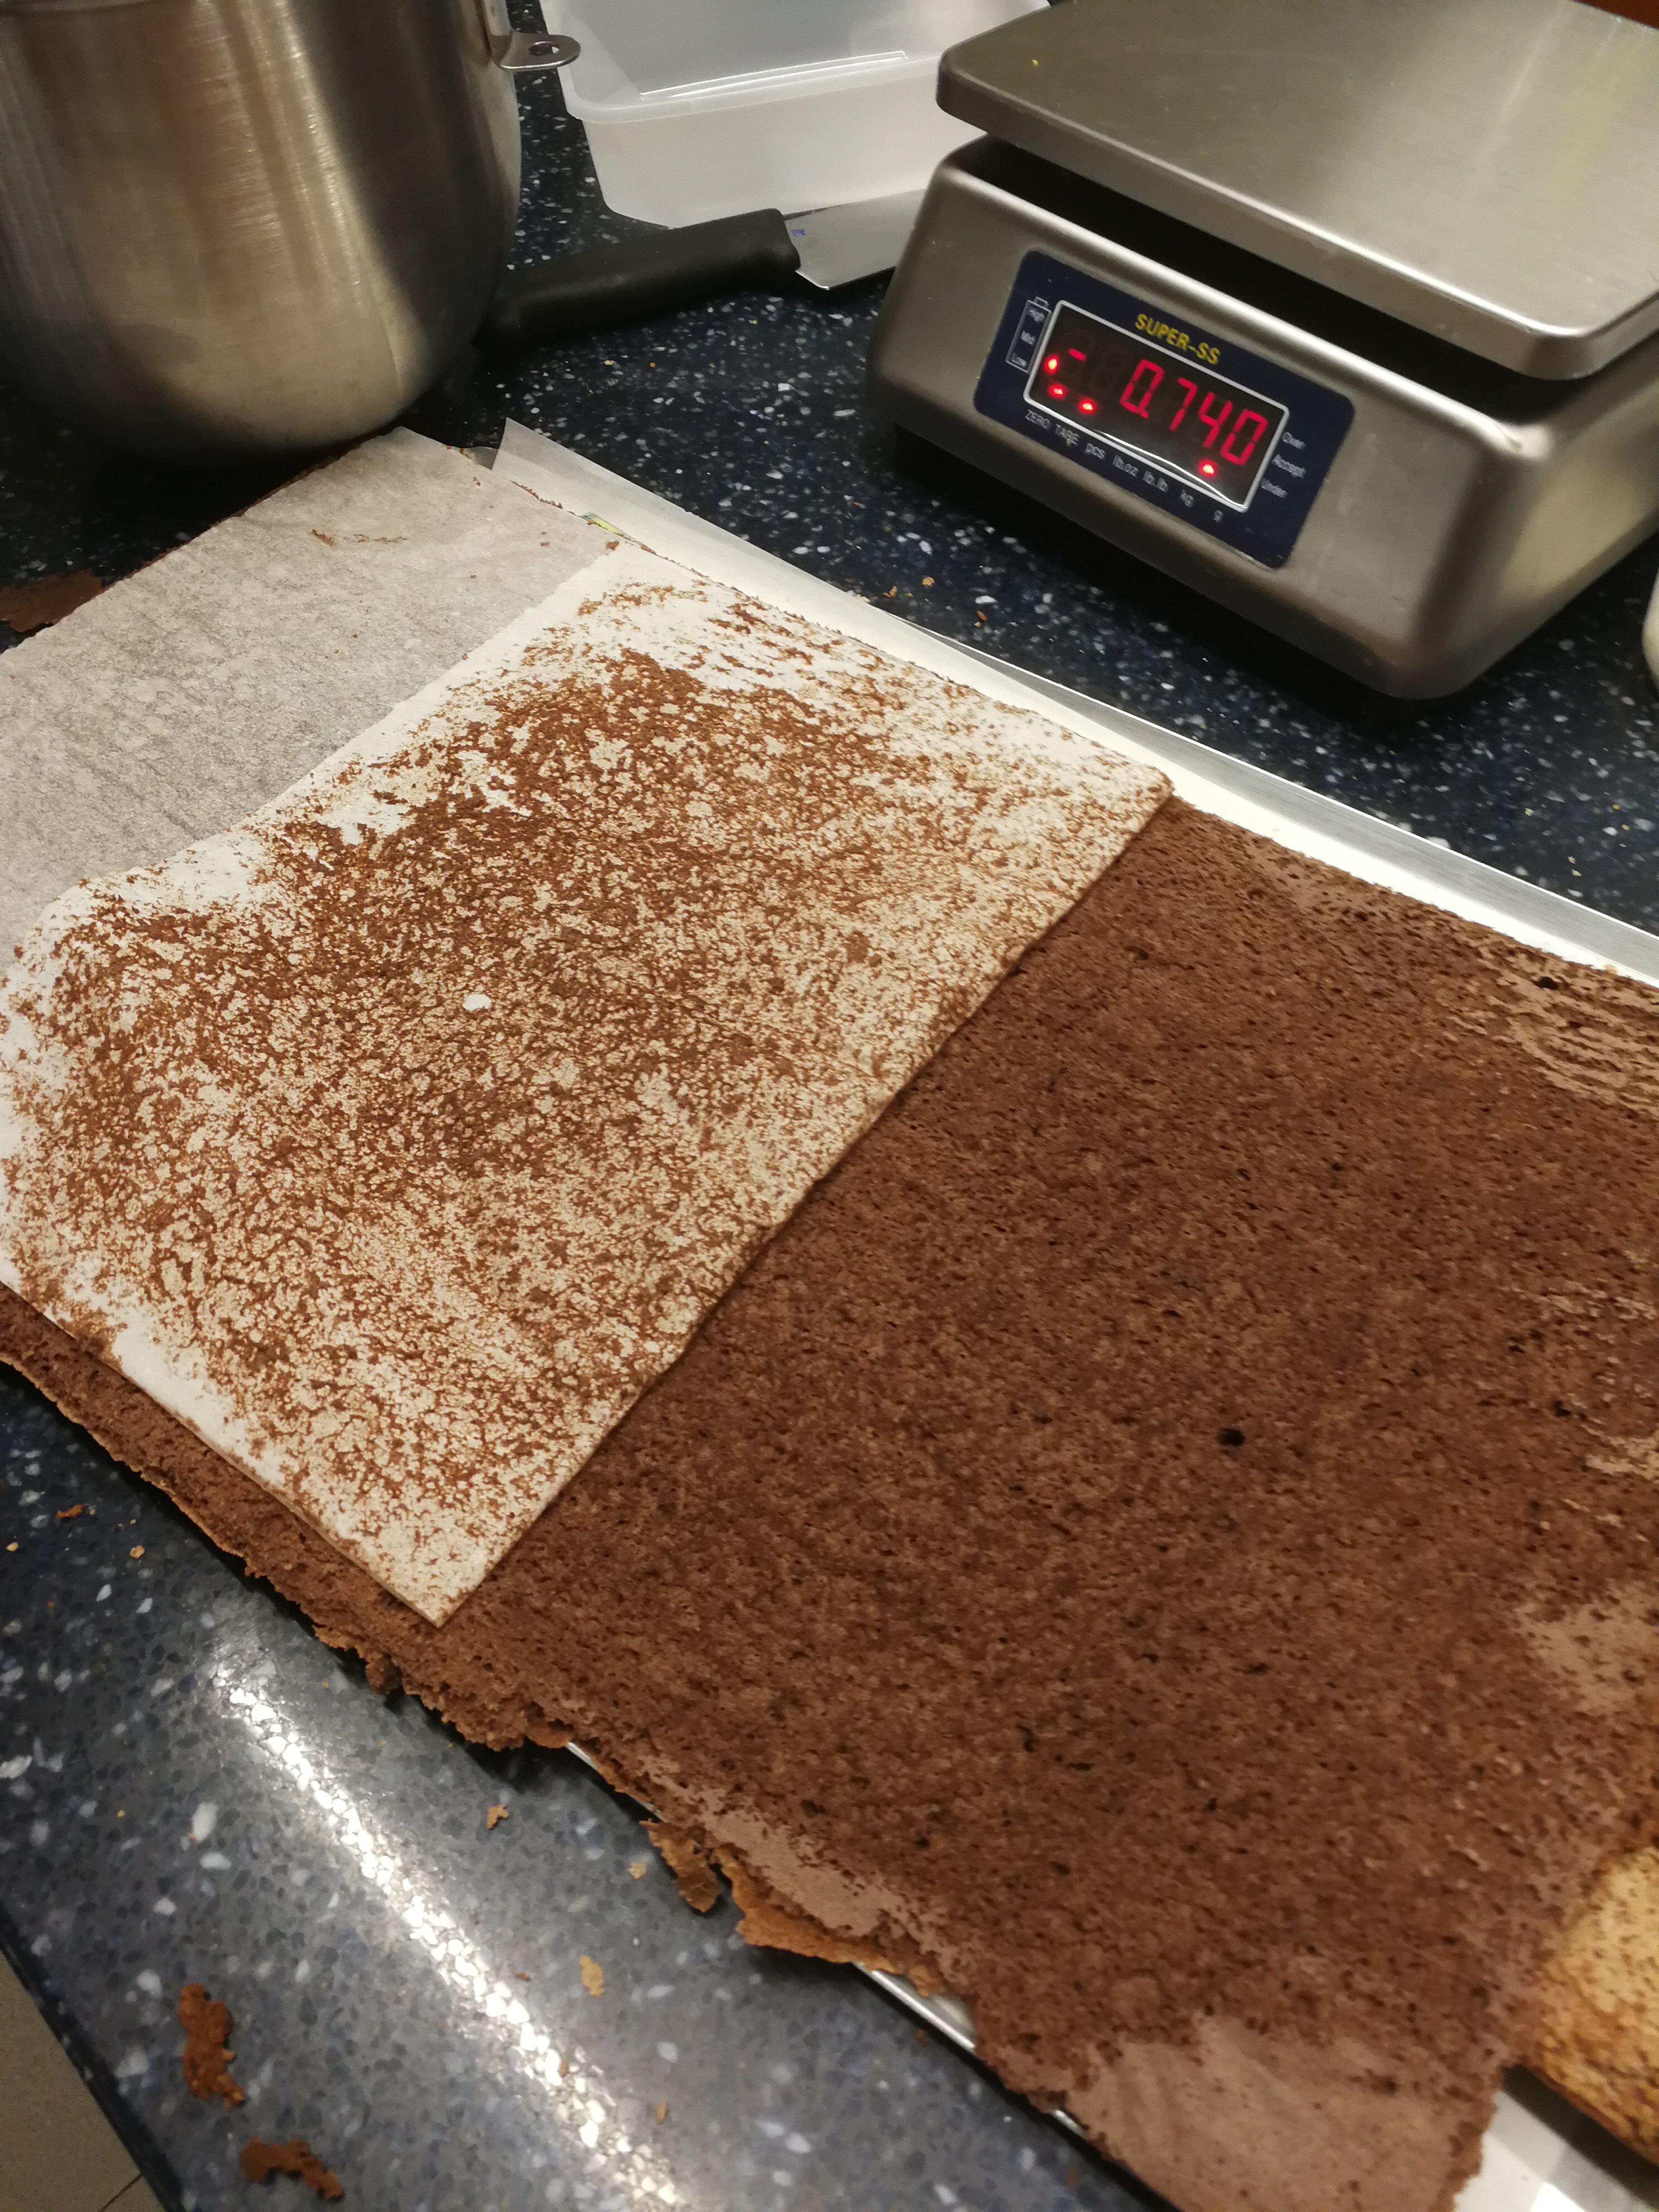
Photo credit The BFD
Put remaining ganache in a bowl on bain-marie and ensure it is thoroughly melted, turn gas off leaving the ganache mixture in the bowl on the steaming bain-marie.
Remove the layered torte from the freezer once frozen, remove the baking paper from the top, cut edges of torte so they are even and square, place the torte on a rack over a tray with a sheet of baking paper in the tray to collect run off liquid chocolate, pour the hot liquid ganache into a pouring jug and pour over the torte quickly. Pour over the middle and then around the edges, ensure all the exposed torte is covered. Because the torte is frozen the ganache will harden quite quickly.
Of course, if you want to make round tortes use a round cake mould.
It is best to cut tortes when they are still part frozen, so you get nice clean cuts.
After eating a few slices of this you will be in 7th heaven, wherever that is – sounds like a good place to be.
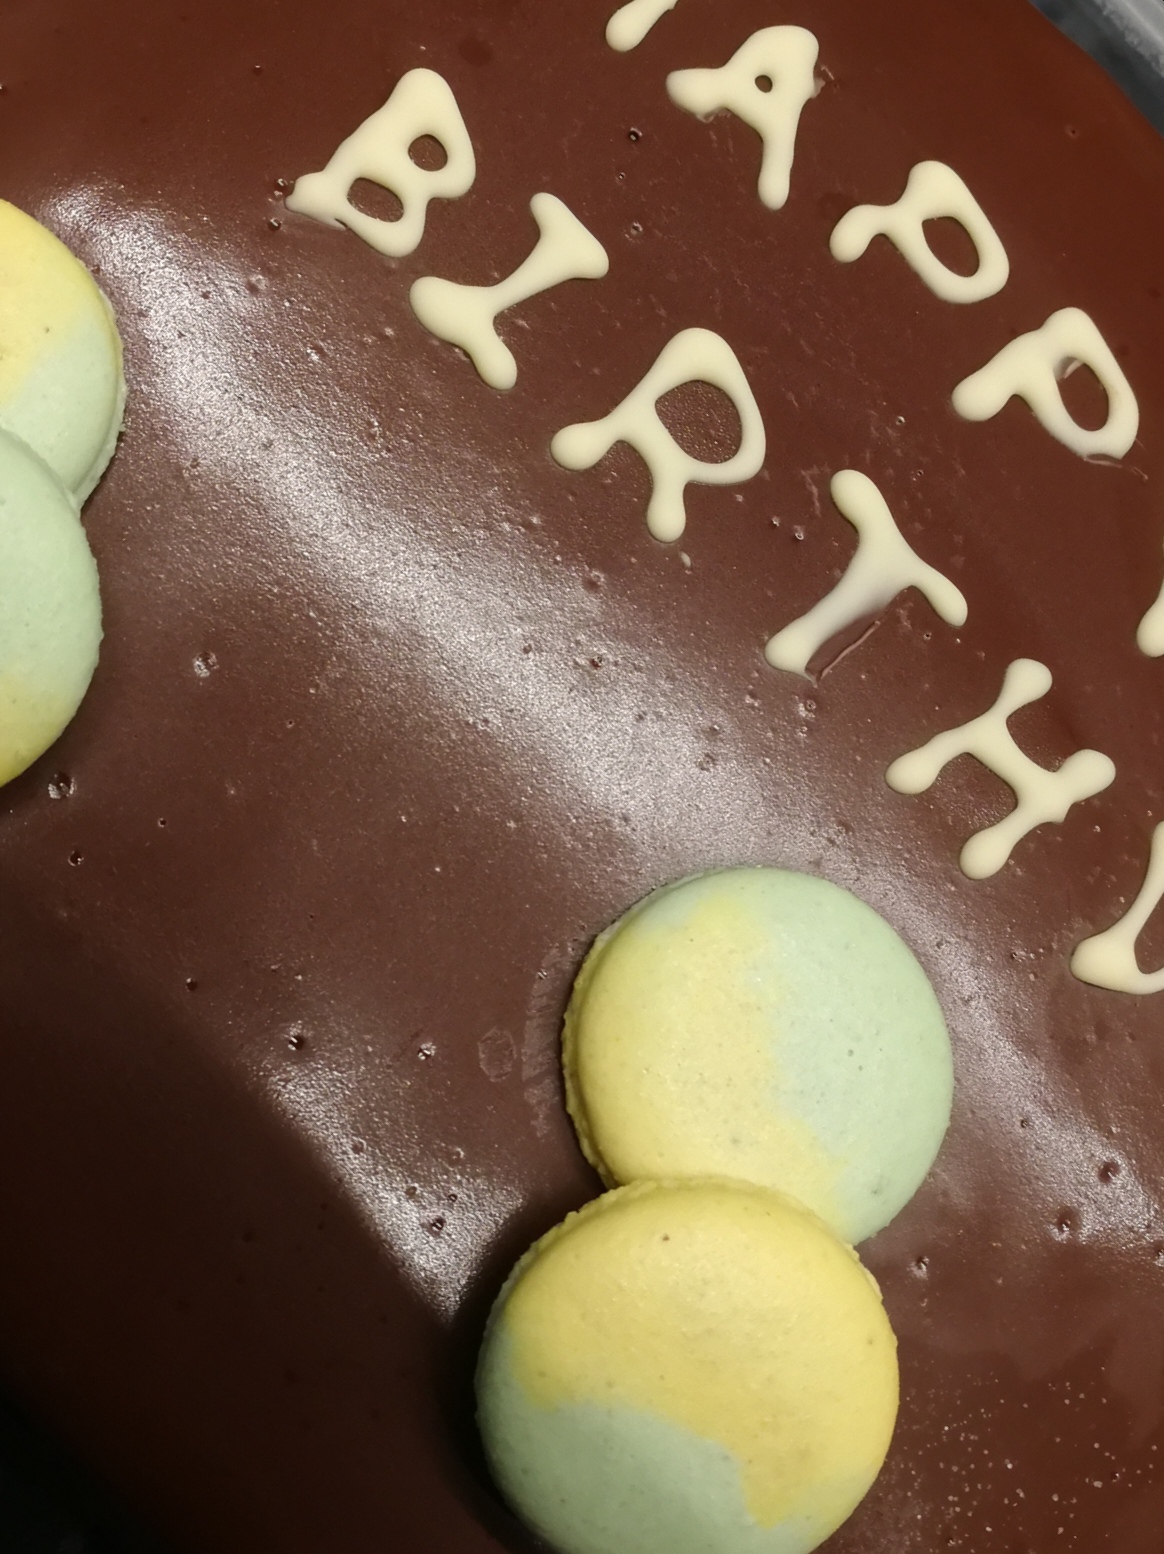
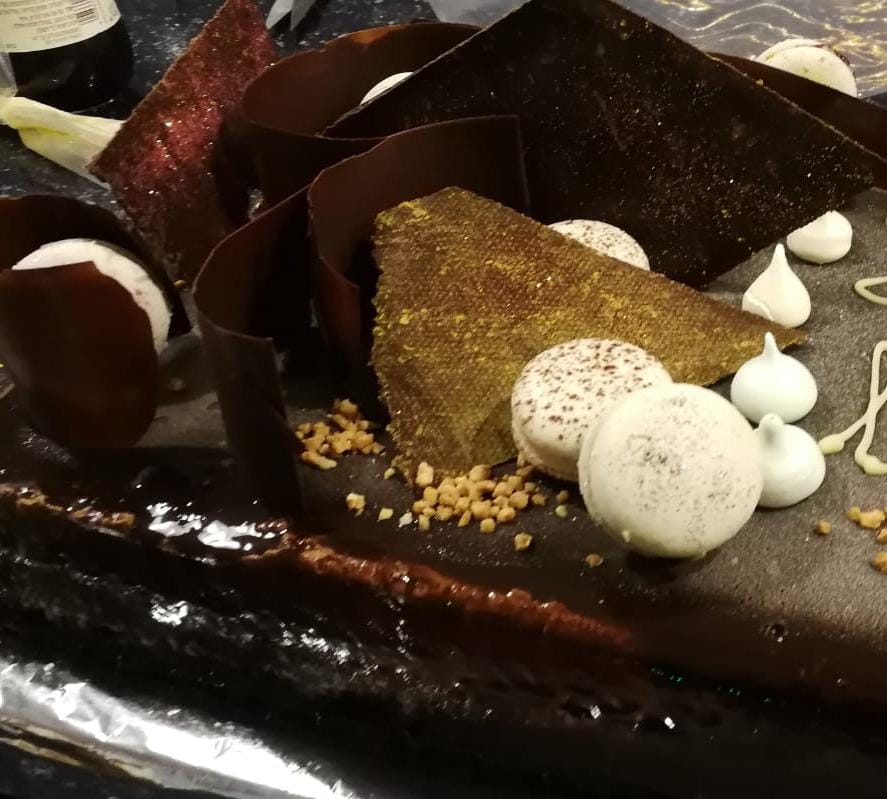
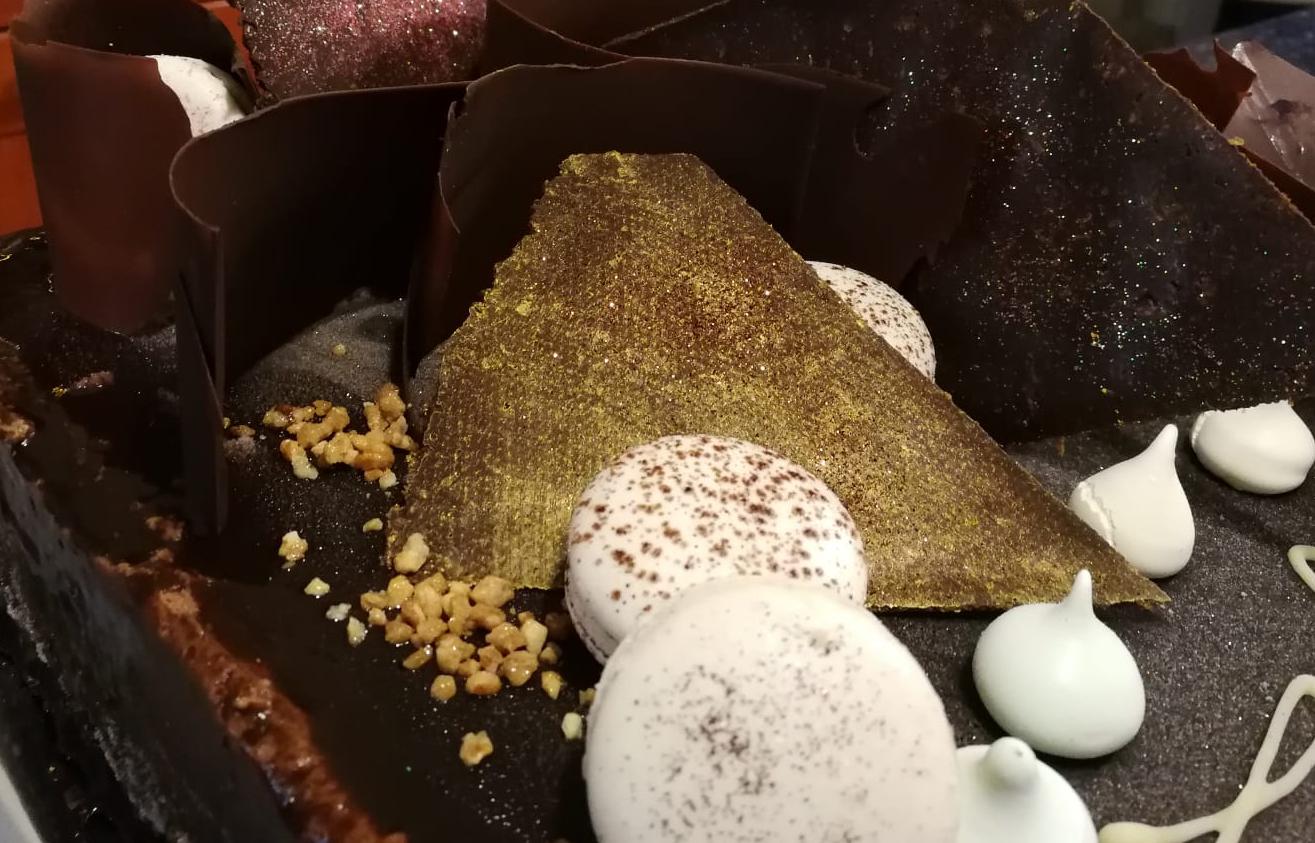
Chocolate Mousse Torte Photo credit The BFD
If you enjoyed this recipe why not share it with your friends via social media or e-mail? If you want a copy of your own select the print option at the top of the page.


