Table of Contents
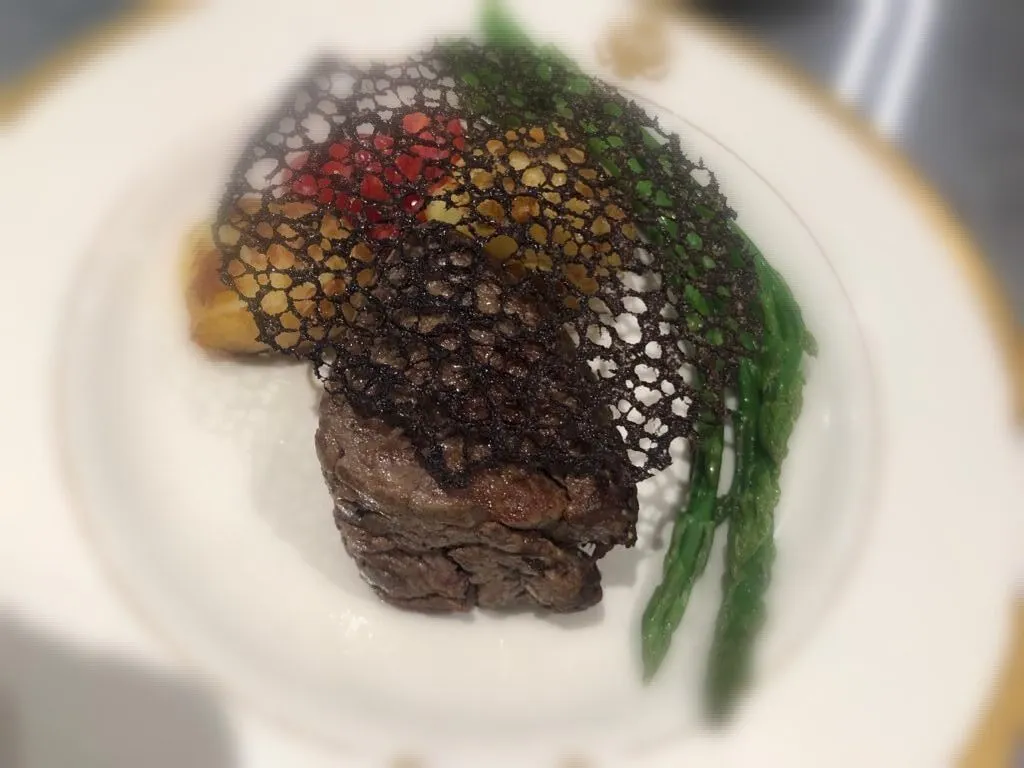
You don’t really need to know about tuiles, but it’s always nice to have an inkling regarding their purpose and contribution to the culinary world. Tuiles is French for roof tiles and is called such as tuiles were once shaped like a roof tile. Times have since moved on and tuiles today can appear pretty much in any shape, colour or form.
Tuiles can be both sweet and savoury depending on what you add. They are often used as a decoration to savoury dishes such as ‘coral tuile’ and are also used for desserts, making decorative edible shapes, baskets or fashioned ice cream cones.
Savoury Tuile
Ingredients
- 100 ml cold water
- 20 g all-purpose flour
- 90 g canola oil
- A drop of food colouring of choice
- Canola oil for frying
Method
Put ingredients into a bowl and mix until smooth. Leave to rest for 30 minutes, then pour into a plastic squeezer bottle. Heat a small frypan with canola oil to medium heat. Squirt tuile mix into the frypan as you would a crepe mix, and tip the pan to ensure an equal spread. It should start to bubble and look like lace. When hardened remove gently to paper towel for later use.
Sweet Tuile
Ingredients
- 200 g butter
- 200 g confectioners’ sugar
- 200 g flour
- 200 g egg white
- Food colouring if desired
- Baking paper to cut out shapes
Method
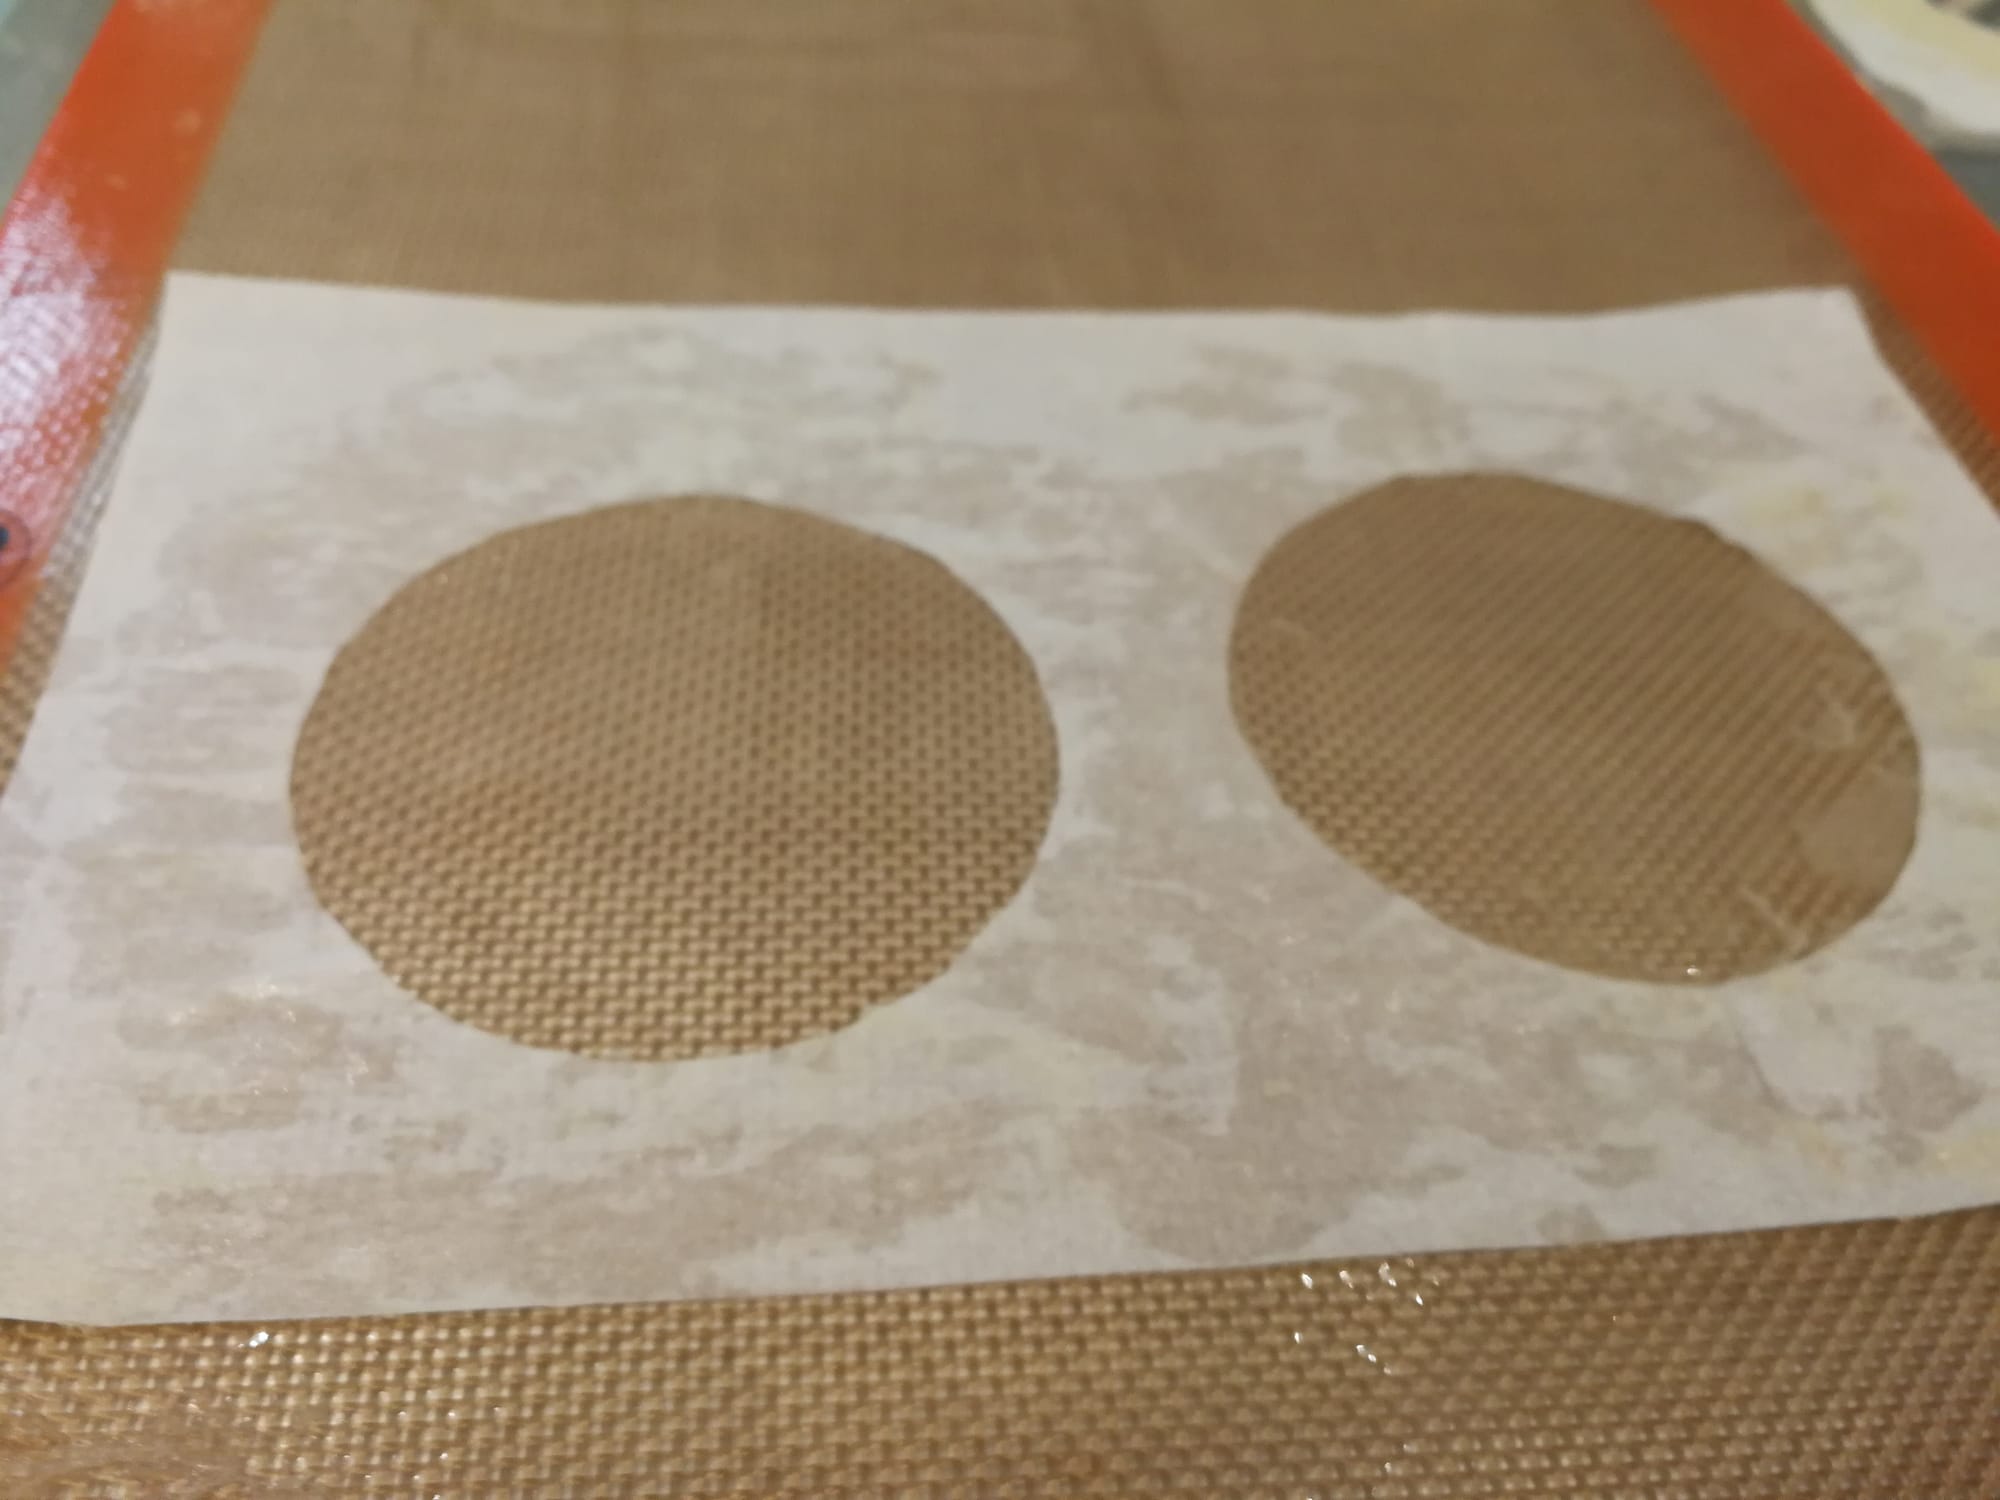
Put everything into a bowl and whisk until smooth. Set aside for 30 minutes to rest. While the mixture is resting, use scissors to cut out the shapes you want from the baking paper.
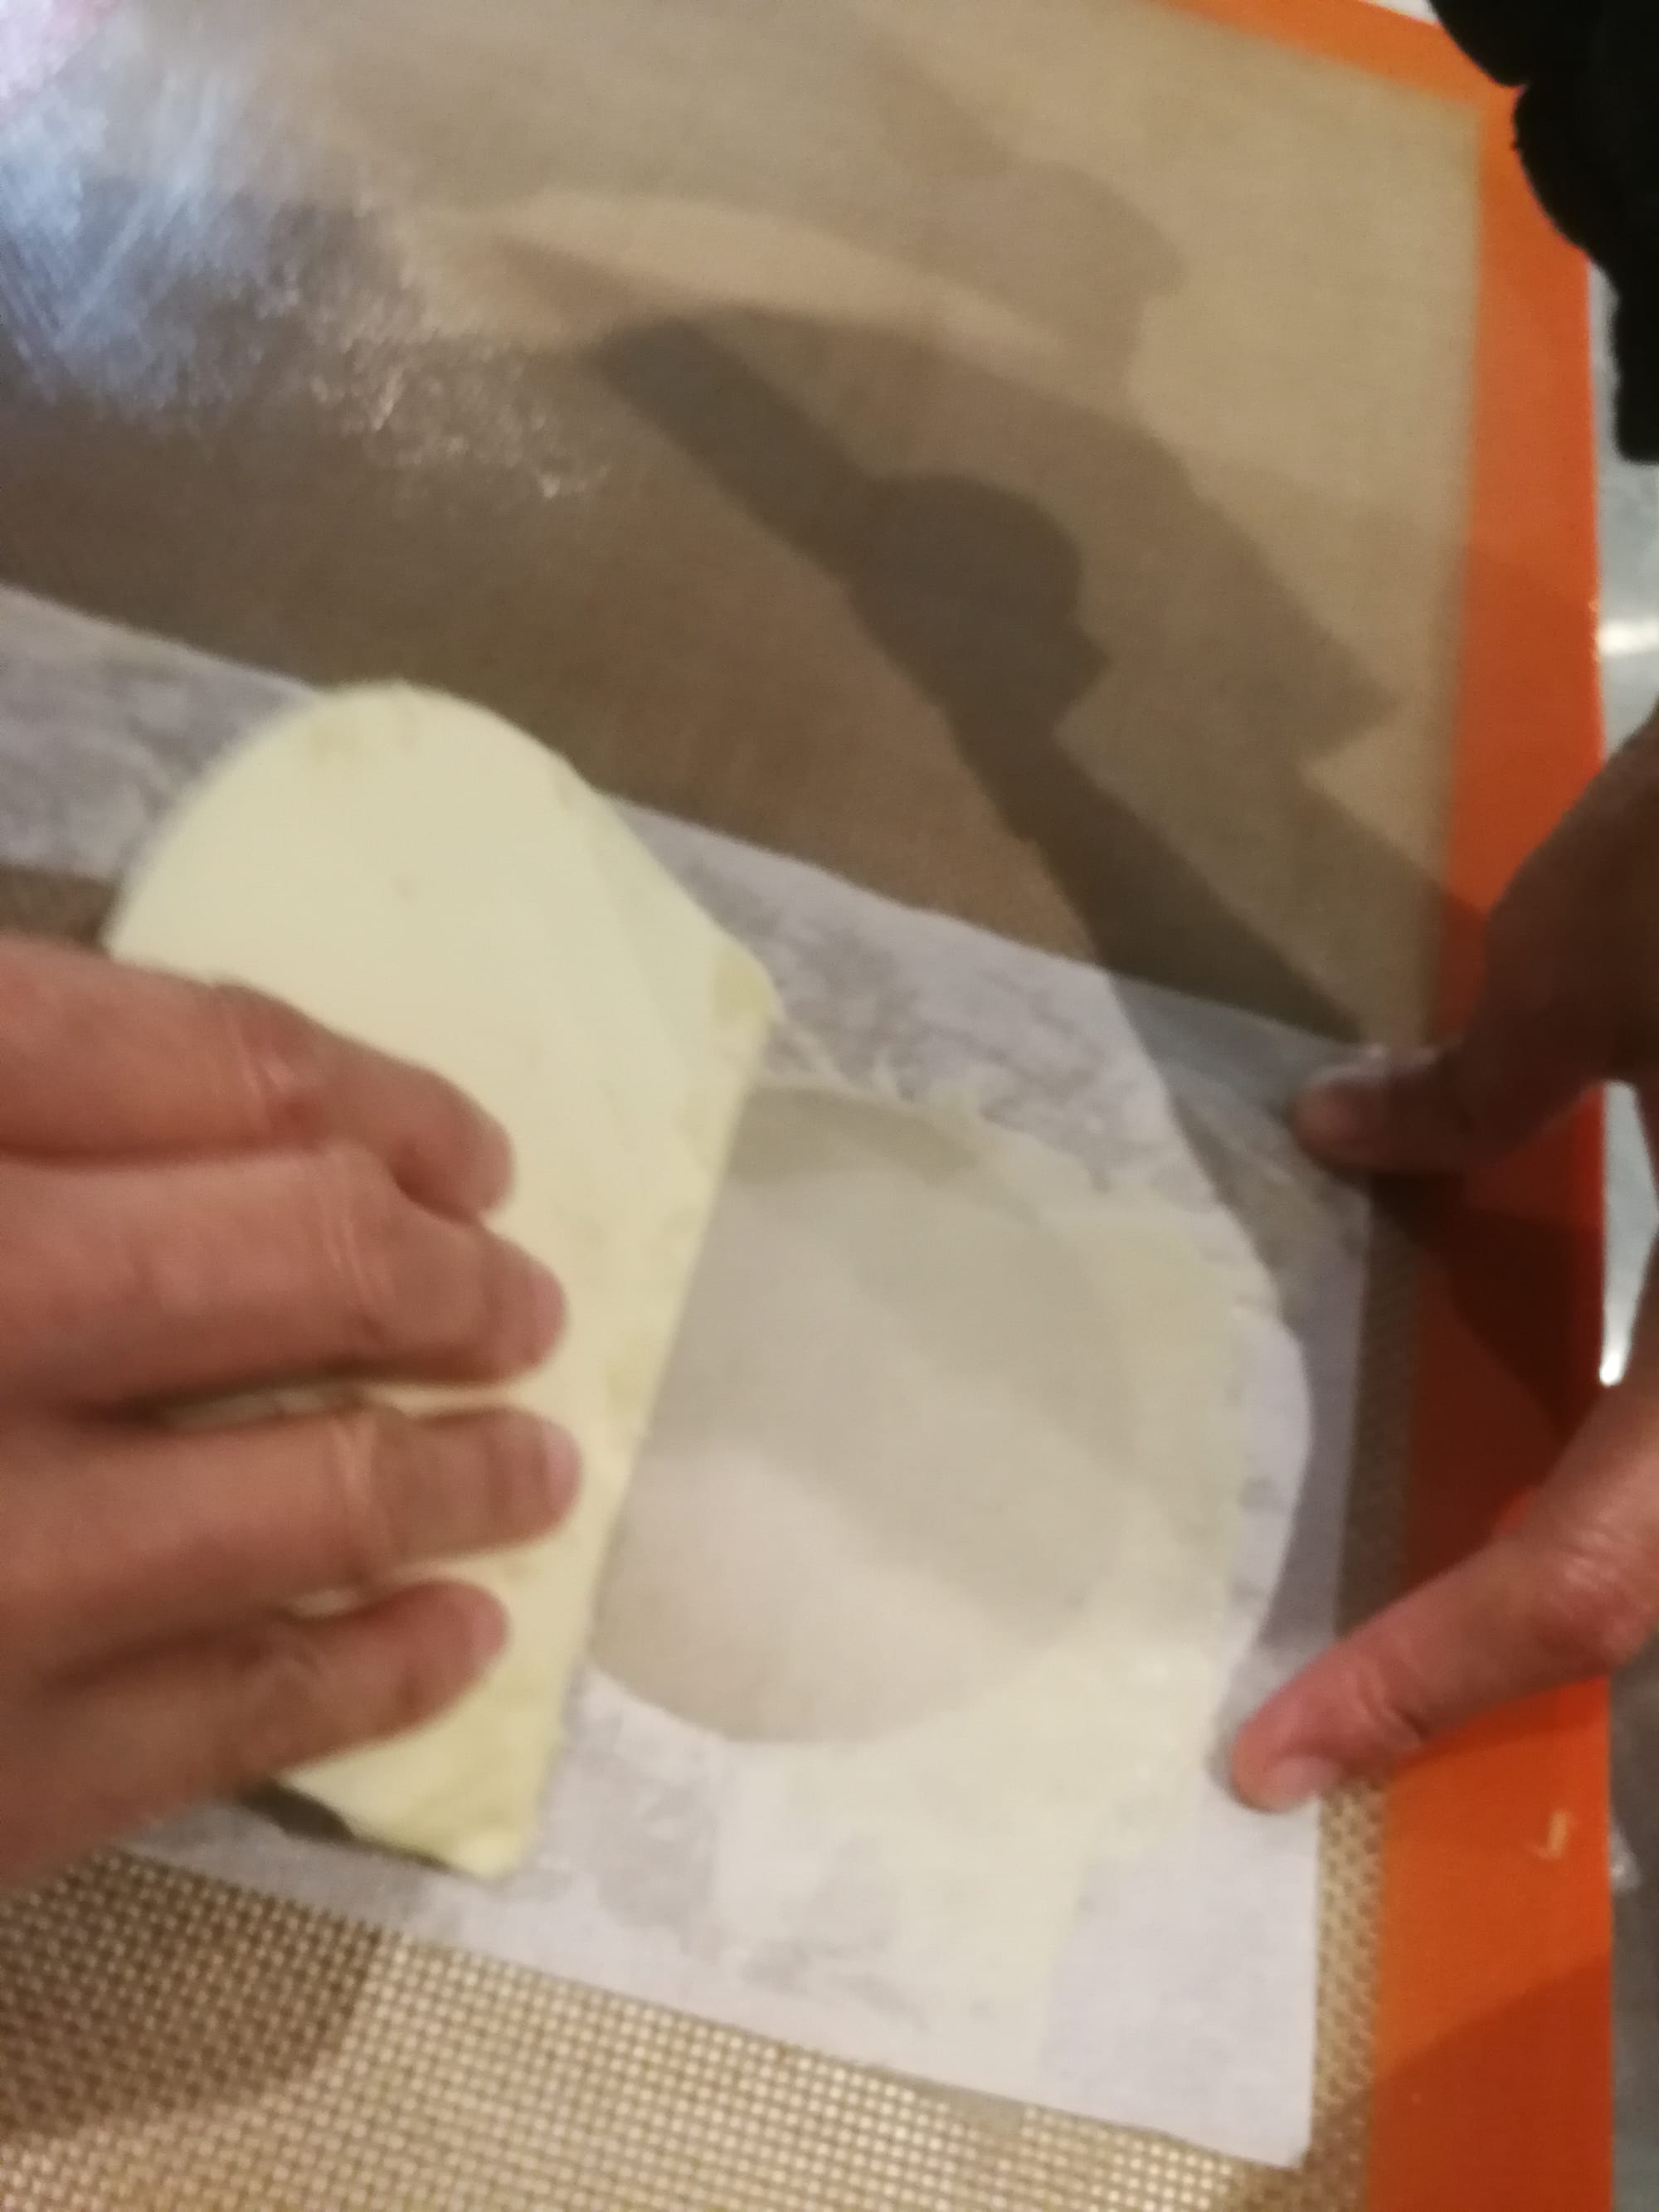
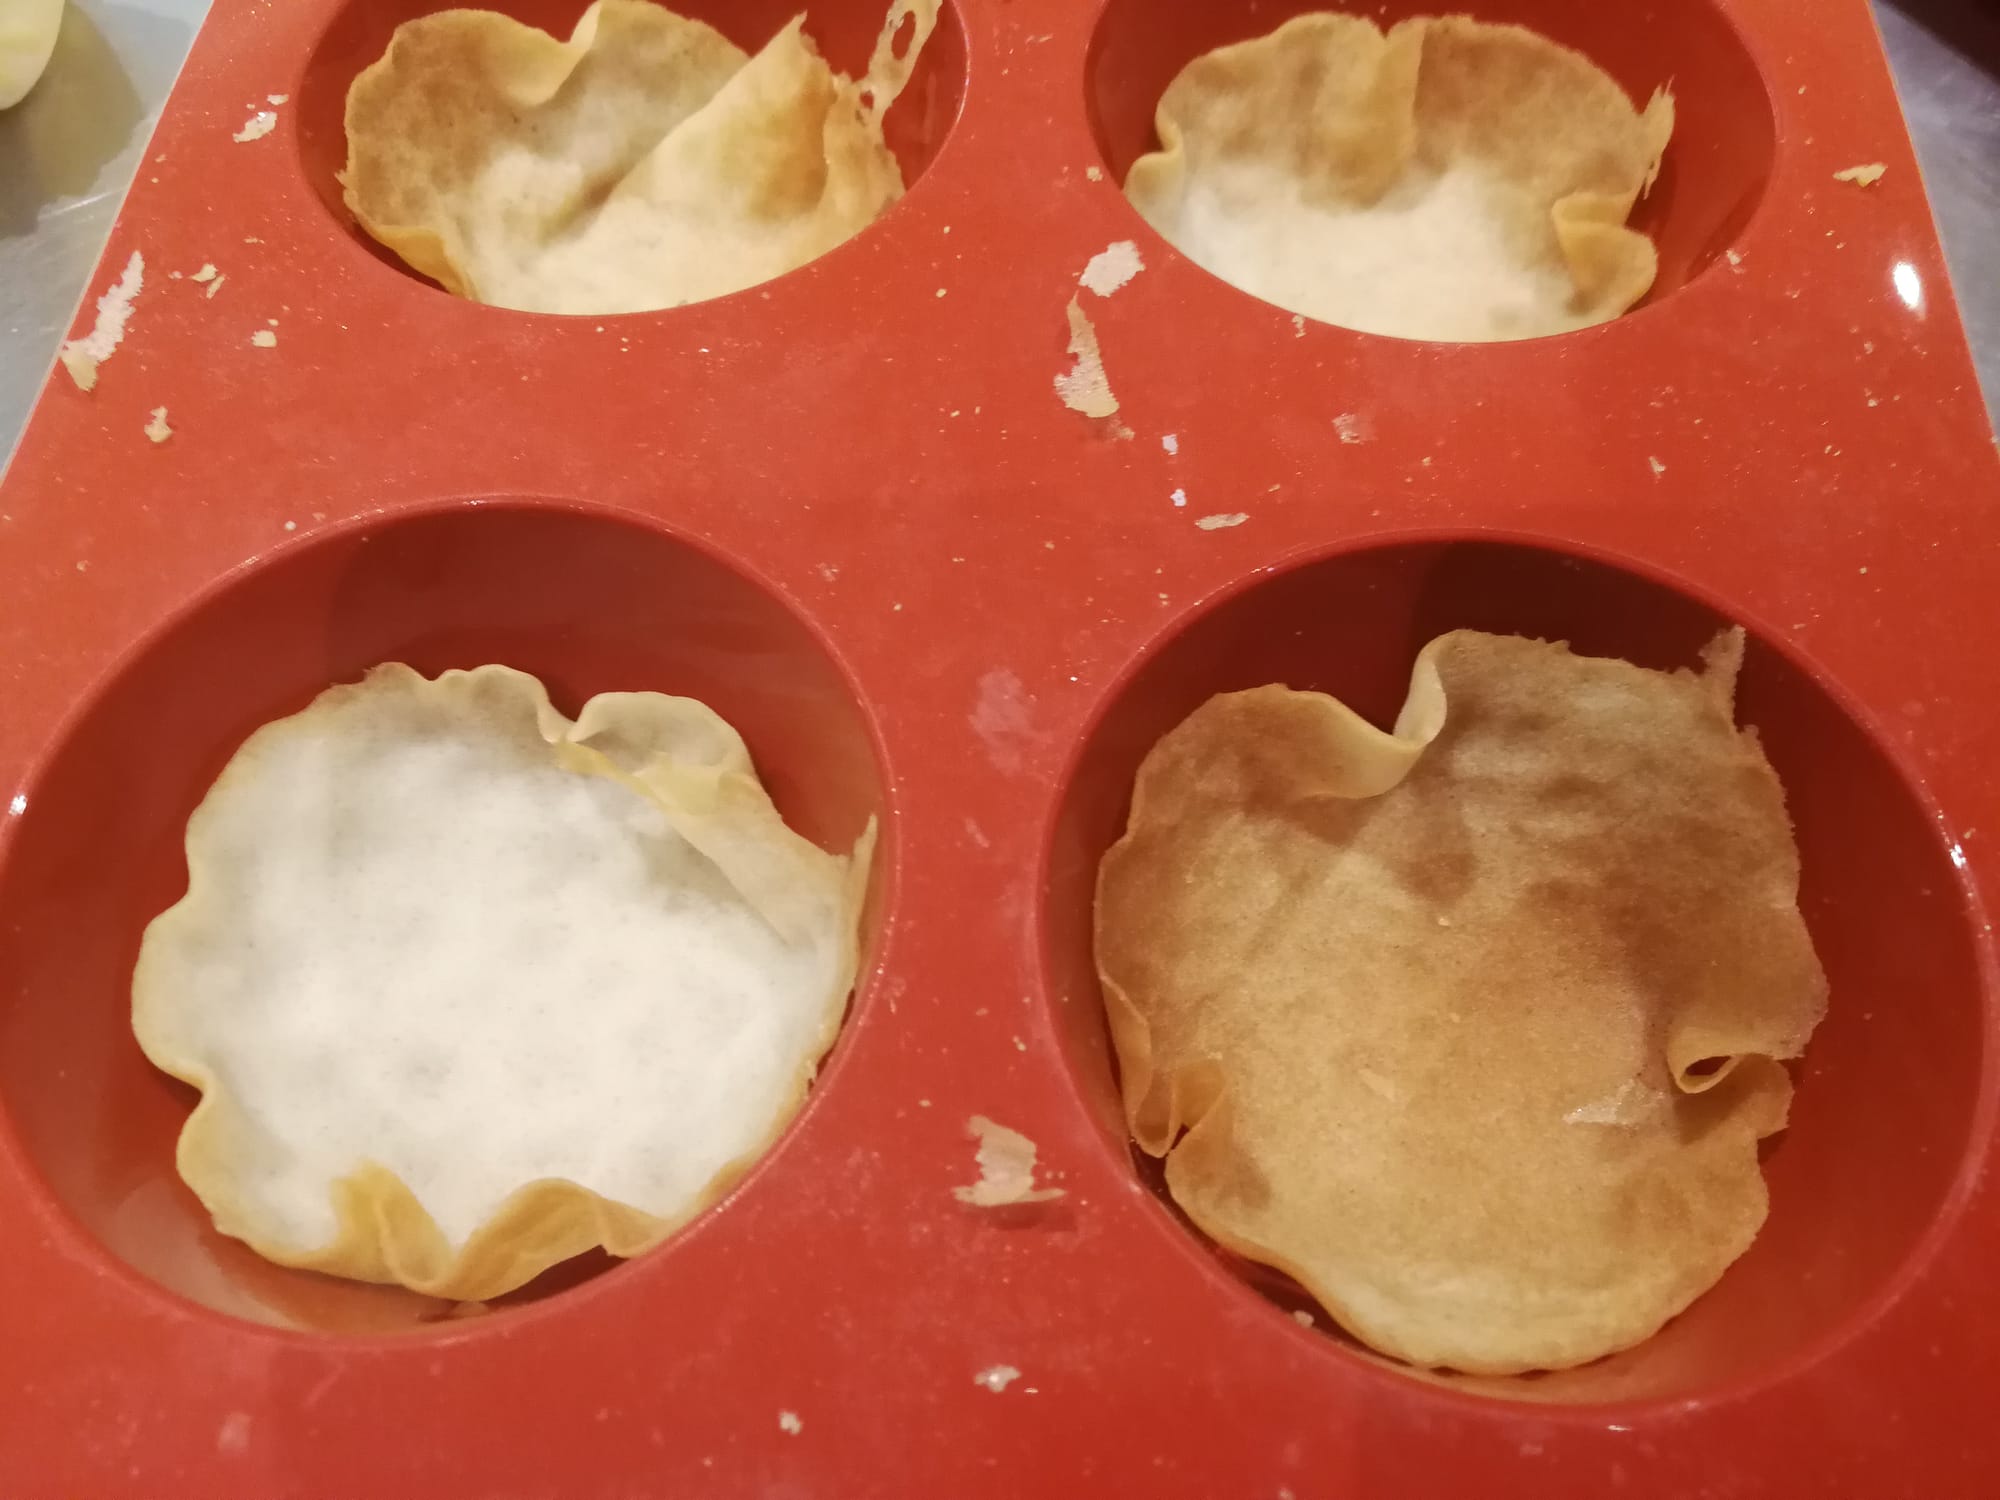
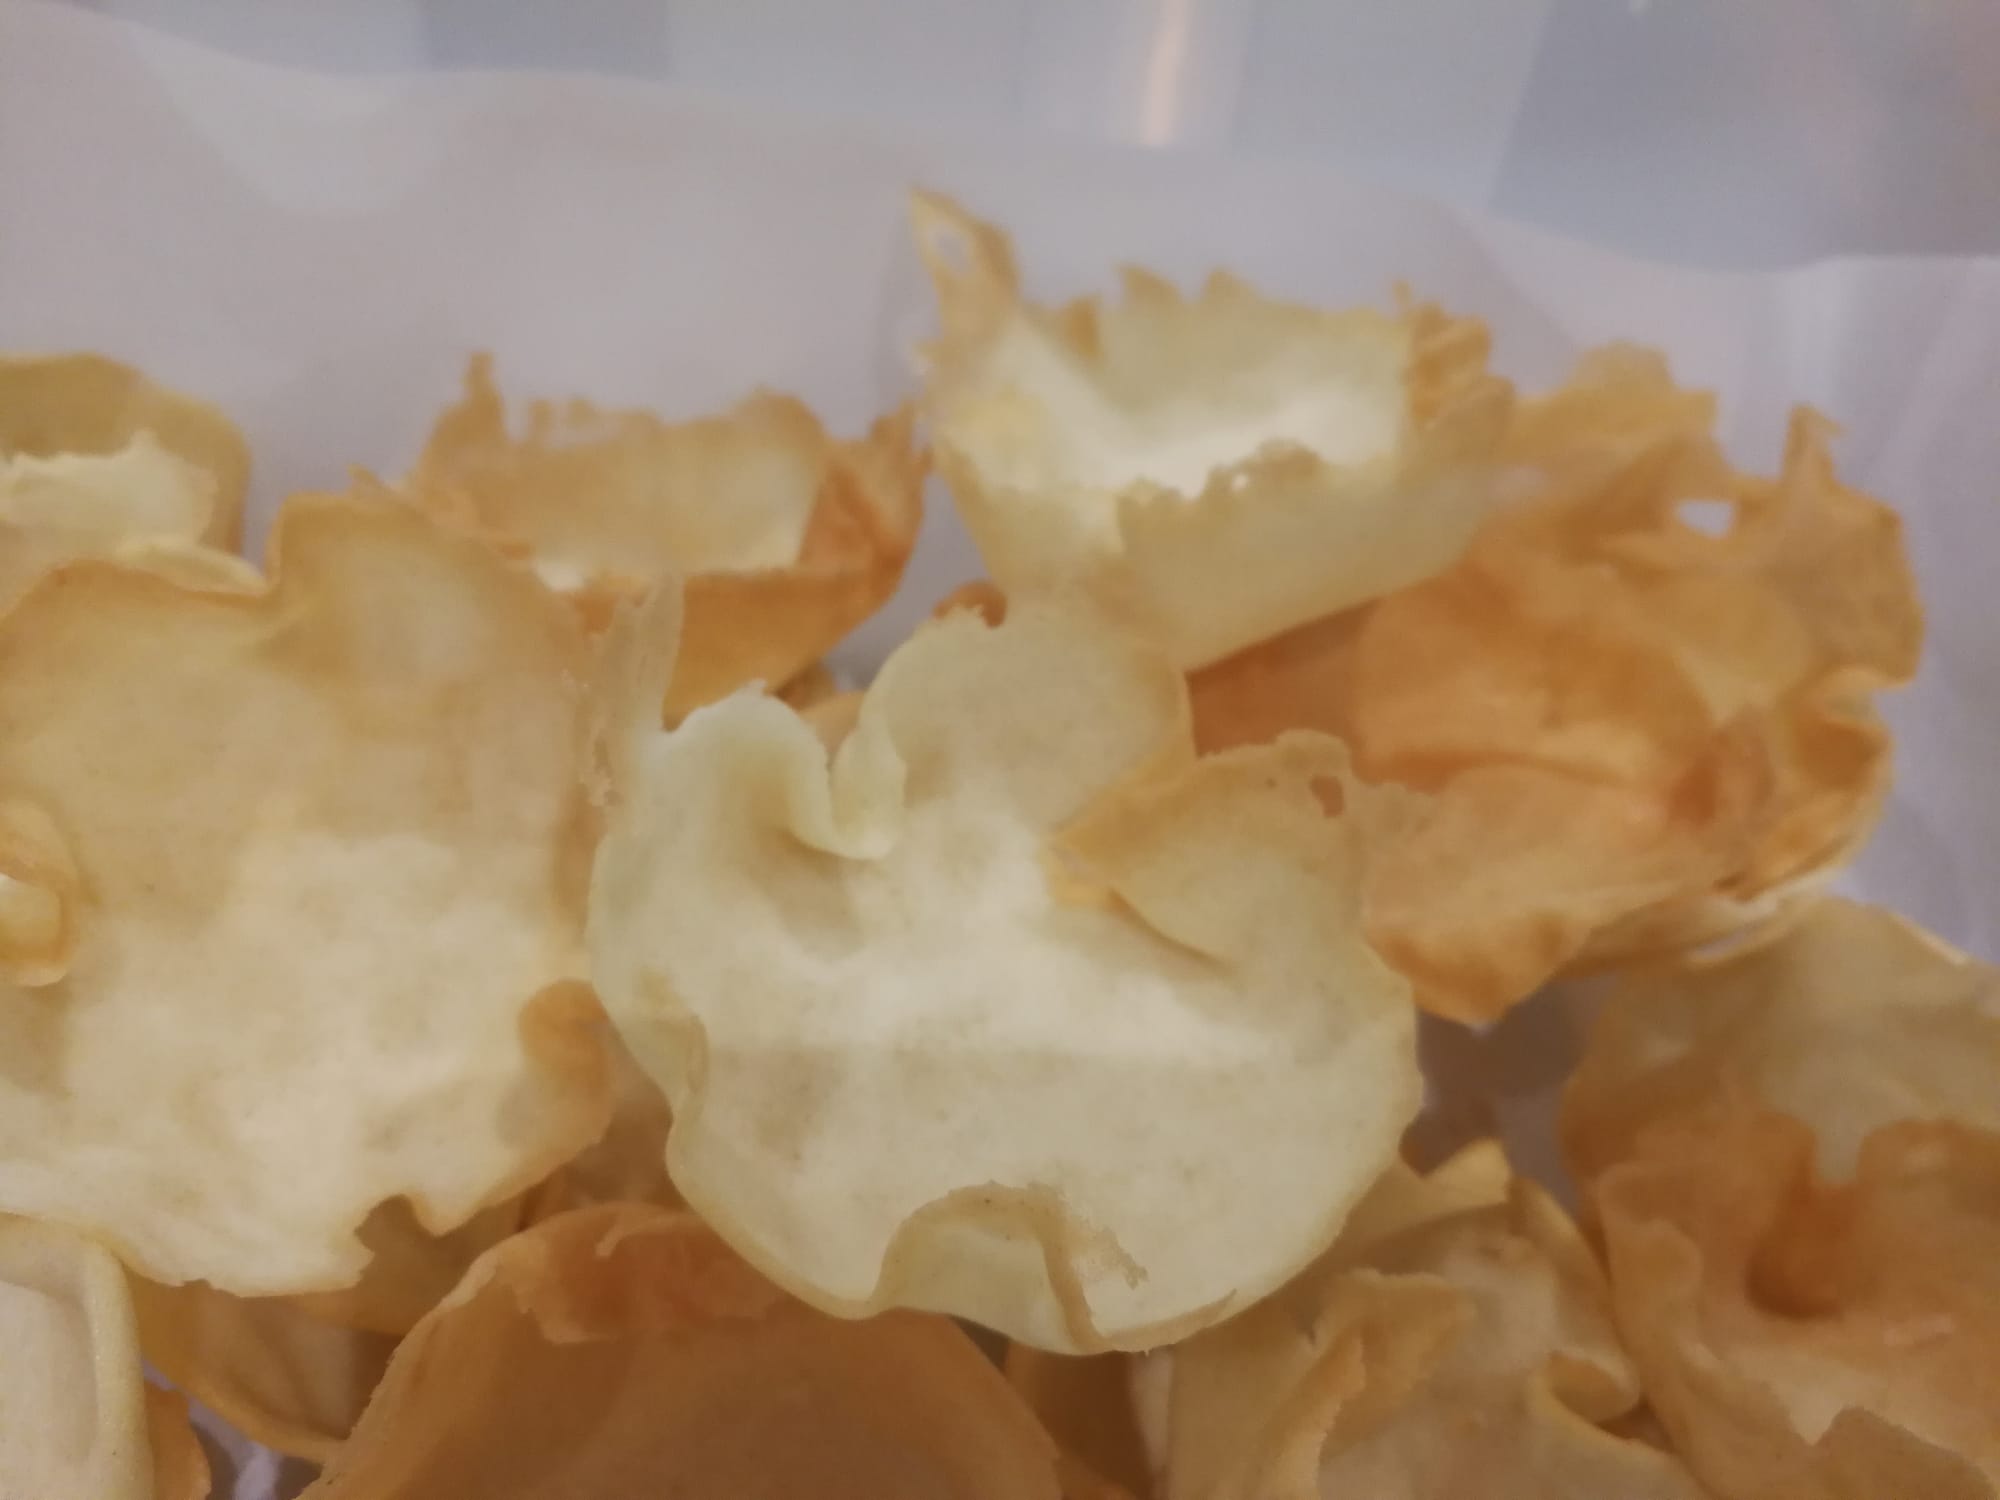
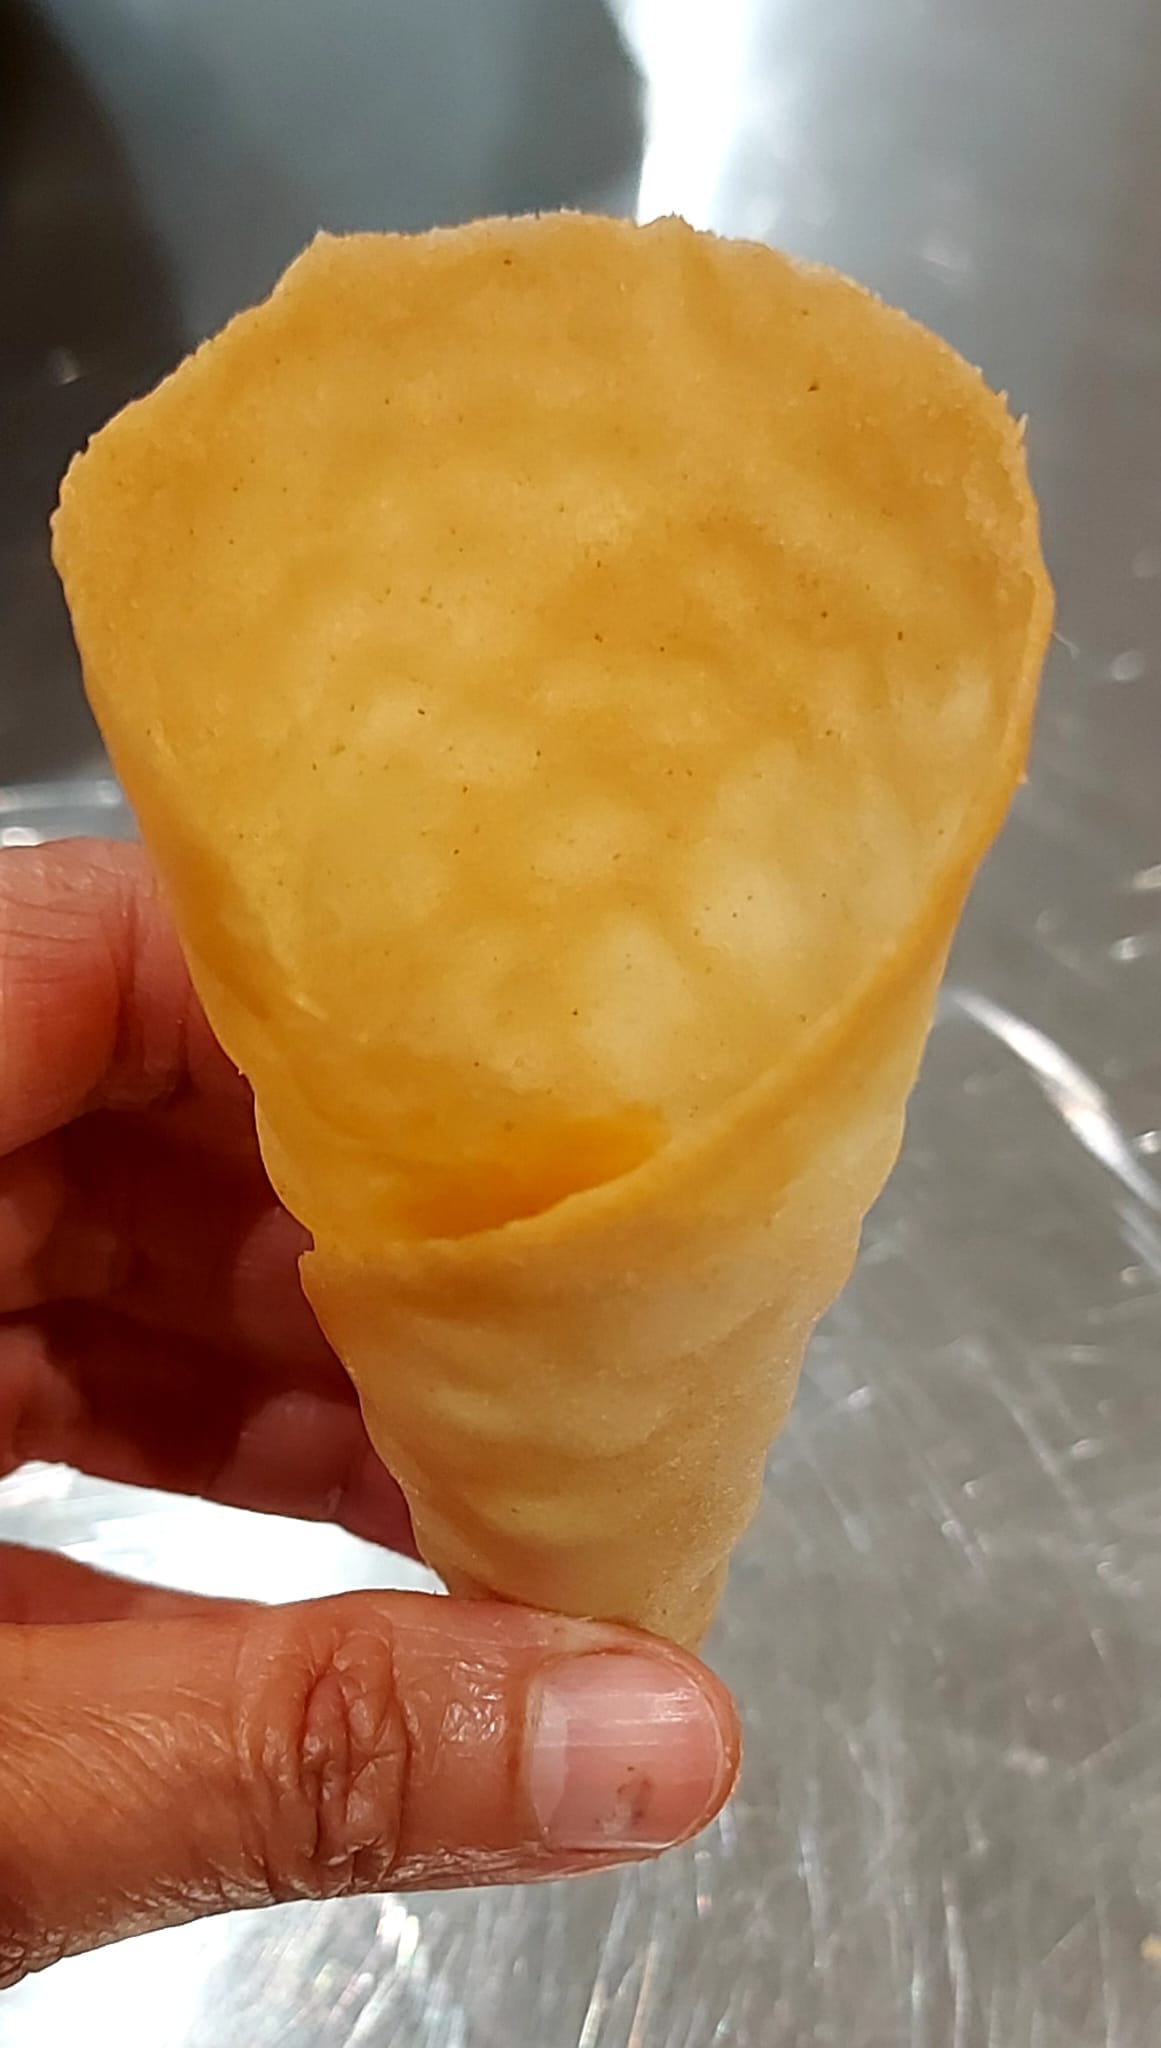
Pre-heat the oven to 180°C. Place the baking paper shapes on an oven tray and spoon enough into the cut out shapes to have a 1-2 mm thickness when spreading with a small metal spatula. Place in the oven for six to seven minutes, until they start to colour. Remove from oven. If you want to shape the tuile to a cone shape or basket you must do it promptly by placing in a mould of your choice or rolling using a thin tube or smooth stick. As the tuile cools it will keep its shape and become crisp.
In the pictures I made small baskets for a scoop of ice cream so the ice cream wouldn’t melt and slide around the dessert plate, plus an ice cream cone.
If you enjoyed this recipe why not share it with your friends via social media or e-mail? If you want a copy of your own select the print option at the top of the page.

